Aug . 18, 2024 05:44 Back to list
Steps for Replacing Your Outdoor Water Valve Efficiently and Effectively
Replacing the Outside Water Valve A Step-by-Step Guide
The outside water valve is an essential component of your home’s plumbing system, controlling the water flow to your outdoor spigots and irrigation systems. Over time, valves can corrode or develop leaks, leading to water waste and potential damage to your property. Replacing a faulty outside water valve may seem daunting, but with the right tools and a bit of know-how, this task can be accomplished efficiently. This article will guide you through the process of replacing your outside water valve, ensuring you can maintain a functional and leak-free plumbing system.
Tools and Materials Needed
Before you start, gather the necessary tools and materials. You will need
- A new outside water valve (make sure to choose the appropriate size) - A pipe wrench or adjustable wrench - A screwdriver - Teflon tape - Plumber's grease - A bucket or towel for any residual water - Safety goggles - A utility knife (if needed)
Step 1 Turn Off the Water Supply
The first and most crucial step is to turn off the main water supply to your house. This will prevent any unwanted flooding while you work. Locate the main shut-off valve, typically found in the basement or near the water meter, and turn it clockwise until it is fully closed. Once the water supply is off, open any outdoor spigots to relieve pressure and drain any remaining water from the pipes.
Step 2 Remove the Old Valve
After ensuring that the water supply is off and the pipes are drained, locate the old valve. Depending on its installation, it may be secured with screws or tightly threaded onto the pipes. Use your pipe wrench to loosen the fittings. If the valve is attached to copper pipes, you may need to cut the old valve out with a utility knife or pipe cutter; be cautious to avoid damaging the surrounding pipes.
Be sure to have a bucket or towel on hand to catch any residual water that might still be in the pipes
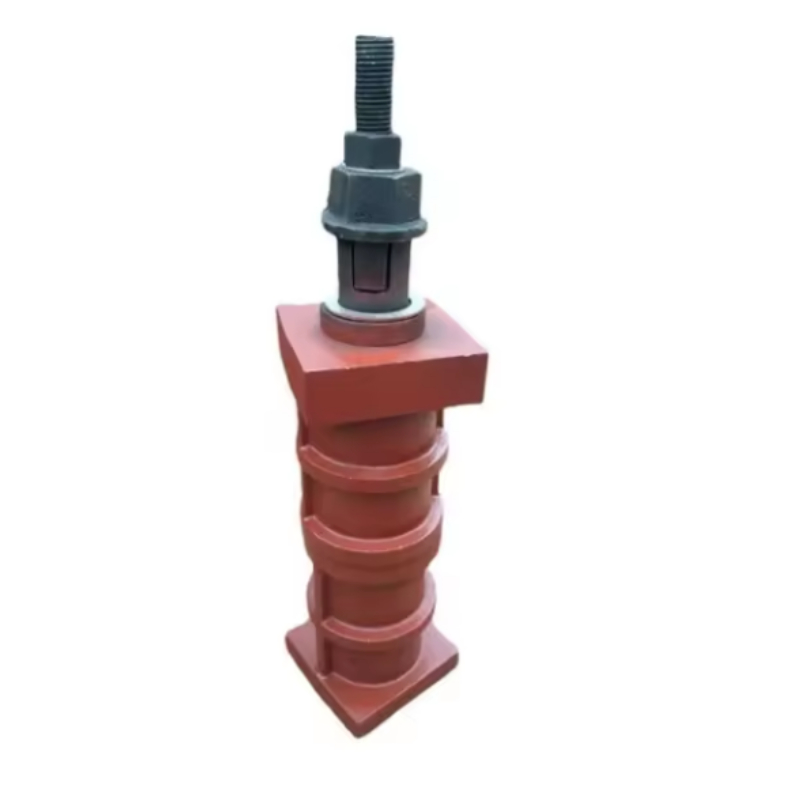
. Once the valve is removed, inspect the surrounding area for any signs of corrosion or damage that might need addressing before installing the new valve.outside water valve replacement

Step 3 Install the New Valve
With the old valve removed, it’s time to install the new one. Begin by applying Teflon tape to the threads of the new valve to ensure a watertight seal. Then, position the valve onto the pipes and secure it tightly using your wrench. Avoid overtightening, which can damage the threads or crack the valve.
Once the new valve is in place, check to make sure it is correctly oriented, allowing you to turn it easily into the open and closed positions.
Step 4 Turn the Water Supply Back On
With the new valve installed, it’s time to turn the water supply back on. Go back to the main shut-off valve and turn it counterclockwise. As the water flows back into the system, check for any leaks around the new valve. If you notice any drips, tighten the fittings slightly until the leaks stop.
Step 5 Test the New Valve
Finally, you’ll want to test your new valve. Open the outdoor spigot gradually and observe for any leaks or abnormalities. Ensure that the water flows smoothly and that you can easily turn the valve on and off.
Conclusion
Replacing an outside water valve is a manageable DIY project that can save you money and prevent future plumbing headaches. By following these steps, you can ensure a proper installation and maintain the integrity of your home’s plumbing system. Remember to prioritize safety and, if you feel uncertain at any point, consulting a professional is always a wise choice. Happy plumbing!
-
Why Metric Trapezoidal Thread is Ideal for Precision Motion ControlNewsAug.05,2025
-
The Unique Properties of a Block of Granite for Industrial UseNewsAug.05,2025
-
The Role of Flanged Y Strainers in Preventing Pipeline ClogsNewsAug.05,2025
-
The Importance of Regular Calibration for Master Ring GagesNewsAug.05,2025
-
How a Cast Iron Surface Table Enhances Accuracy in ManufacturingNewsAug.05,2025
-
Comparing Different Check Valve Types for Optimal Flow ControlNewsAug.05,2025
Related PRODUCTS


