Jul . 21, 2025 08:01 Back to list
Precision Cast Iron Surface Plate - Durable & Accurate
Storaen (Cangzhou) International Trading Co.
Industry leader in precision measurement equipment manufacturing with 15+ years of expertise in cast surface plate production.
In precision engineering and metrology, surface plates serve as indispensable reference surfaces for measurement, inspection, and layout work. As flatness reference standards, these essential tools provide the foundation for dimensional accuracy in manufacturing processes ranging from aerospace to automotive industries. This comprehensive guide examines the technological innovations, material developments, and industrial applications shaping the surface plate market today, with a special focus on cost-efficient solutions that maintain high precision standards.
Material Innovations in Surface Plates
The material composition of a surface plate directly influences its performance characteristics, longevity, and application suitability. Modern manufacturing offers several distinct material options:
Cast iron surface plates remain the industry standard for most precision applications due to their excellent vibration damping properties and thermal stability. These plates are manufactured from high-grade grey cast iron using specialized casting techniques that minimize internal stresses. For demanding metrology laboratories, cast iron surface plates undergo thermal stabilization cycles and precision scraping to achieve accuracies within 0.0001 inches per square foot. The granular structure of cast iron provides natural lubricity that facilitates smoother movement of gauge blocks and precision instruments during measurement operations.
Granite surface plates have gained significant market share in specialized environments due to their non-magnetic properties and superior corrosion resistance. Engineered from black granite quarried from specific geological formations, these plates offer exceptional dimensional stability unaffected by temperature fluctuations. The latest advancements in granite plate manufacturing include laser-etched grid patterns for layout work and specialized surface treatments that enhance wear resistance without compromising flatness tolerances.
With the increasing demand for cheap surface plate solutions that maintain adequate precision for workshop applications, manufacturers have developed cost-effective alternatives using advanced polymer composites. These engineered surfaces incorporate mineral particulates within a polymer matrix to achieve vibration damping characteristics approaching cast iron at significantly lower price points. Recent studies published in the Journal of Manufacturing Processes indicate that modern composite plates now achieve flatness tolerances suitable for 80% of industrial measurement applications at 40-60% lower cost than traditional options.

Precision Ground Cast Iron Surface Plate
Expertly calibrated cast iron surface plate with certified flatness tolerance of ±0.00015" per square foot. Features stress-relieved construction for long-term stability.
Explore Specifications
Heavy-Duty Workshop Grade Surface Plate
Economical surface plate solution offering certified flatness of ±0.0003" per square foot. Ideal for machine shop environments requiring durable measuring surfaces.
Request QuoteTechnical Specifications of Surface Plates
| Parameter | Workshop Grade | Inspection Grade | Laboratory Grade | Material Comparison |
|---|---|---|---|---|
| Flatness Tolerance | ±0.0003"/ft² | ±0.0002"/ft² | ±0.0001"/ft² | Cast Iron: High · Granite: Excellent |
| Surface Hardness | 150-180 BHN | 180-220 BHN | 220-260 BHN | Cast Iron: Hard · Granite: Very Hard |
| Thermal Expansion | 6.8 µm/m°C | 6.2 µm/m°C | 5.8 µm/m°C | Cast Iron: Medium · Granite: Low |
| Vibration Damping | Good | Very Good | Excellent | Cast Iron: Superior · Granite: Moderate |
| Typical Size Range | 12"×12" to 48"×72" | 18"×24" to 72"×144" | 24"×36" to 48"×96" | - |
| Load Capacity | 400 lb/ft² | 800 lb/ft² | 1500 lb/ft² | Cast Iron: Higher · Granite: Lower |
| Average Service Life | 5-8 years | 8-12 years | 15-20 years | Cast Iron: Long · Granite: Very Long |
Material Performance Comparison in Surface Plates
Flatness Accuracy by Surface Plate Grade (microns/m²)
Industrial Applications of Surface Plates
Across manufacturing sectors, surface plates fulfill critical functions in quality control and production efficiency:
Aerospace & Defense: In this ultra-precision sector, surface plates certified to ASME B89.3.7 standards serve as primary references for turbine component inspection, airframe alignment, and guidance system calibration. The extreme precision required in aerospace manufacturing demands laboratory-grade plates with thermal stability exceeding ±0.5°C variation during measurement operations.
Automotive Manufacturing: Production lines utilize specialized iron surface plates for dimensional verification of engine blocks, transmission housings, and suspension components. Modern automotive plants increasingly employ modular plate systems with integrated mounting fixtures that reduce setup time by 40% according to production studies published by the Society of Manufacturing Engineers.
Energy Sector: Nuclear and conventional power generation facilities rely on granite surface plates for precision measurement of turbine components and reactor parts where magnetic interference must be avoided. The latest designs incorporate vibration isolation systems that maintain measurement accuracy even when installed near high-energy equipment.

Educational Grade Surface Plates
Cost-effective cheap surface plate solutions designed for technical institutes and training centers. Features adequate flatness for metrology instruction.
View Academic Pricing
Calibration-Grade Reference Plate
Our premium cast iron surface plate certified to AA-grade flatness standards. Includes NIST-traceable calibration documentation.
Request CertificationCost-Effective Precision: Affordable Surface Plate Solutions
The evolution of manufacturing technology has enabled significant advances in economical surface plate options without sacrificing essential accuracy. When specifying a cheap surface plate solution, consider these strategic approaches:
Material Selection: Advanced polymer composites now offer viable alternatives to traditional cast iron, providing 85% of the performance at 40-50% of the cast iron surface plate price. These materials particularly excel in educational settings or light manufacturing where extreme precision isn't critical.
Size Optimization: Careful analysis of actual measurement requirements frequently reveals that smaller plates can perform 90% of necessary inspection tasks. A 24"×36" inspection-grade plate typically costs 60% less than a 48"×72" equivalent while providing identical precision on appropriately sized workpieces.
Refurbishment Programs: Certified plate reconditioning services restore flatness to original specifications at approximately 30-40% of new plate cost. Thermal scraping and precision grinding techniques can extend service life by 5-8 years with proper maintenance, according to data from the Precision Measurements Association.
Industry-Leading Products: Cast Iron Angle Plates
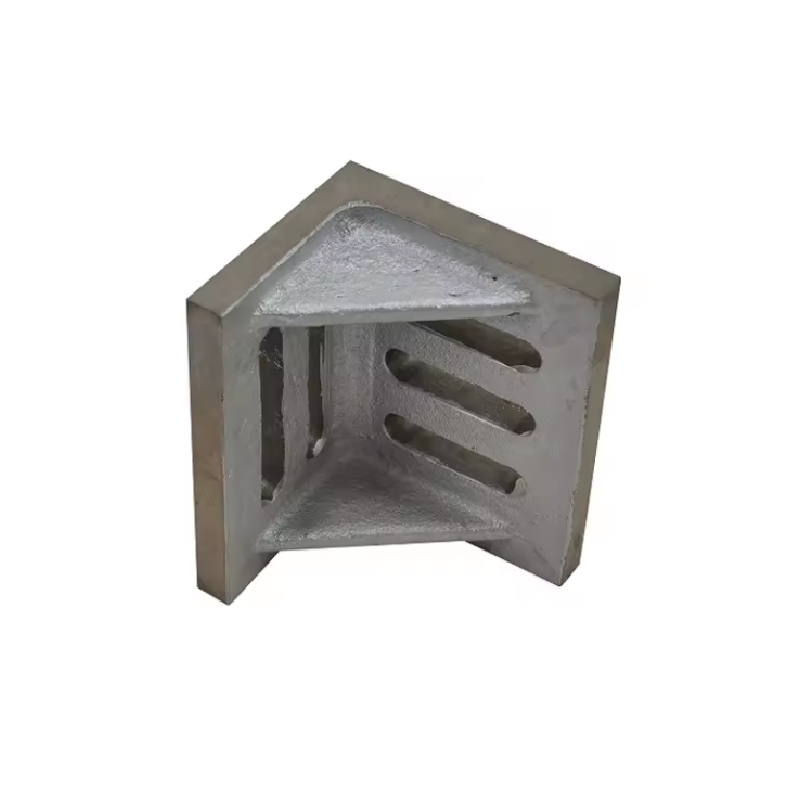
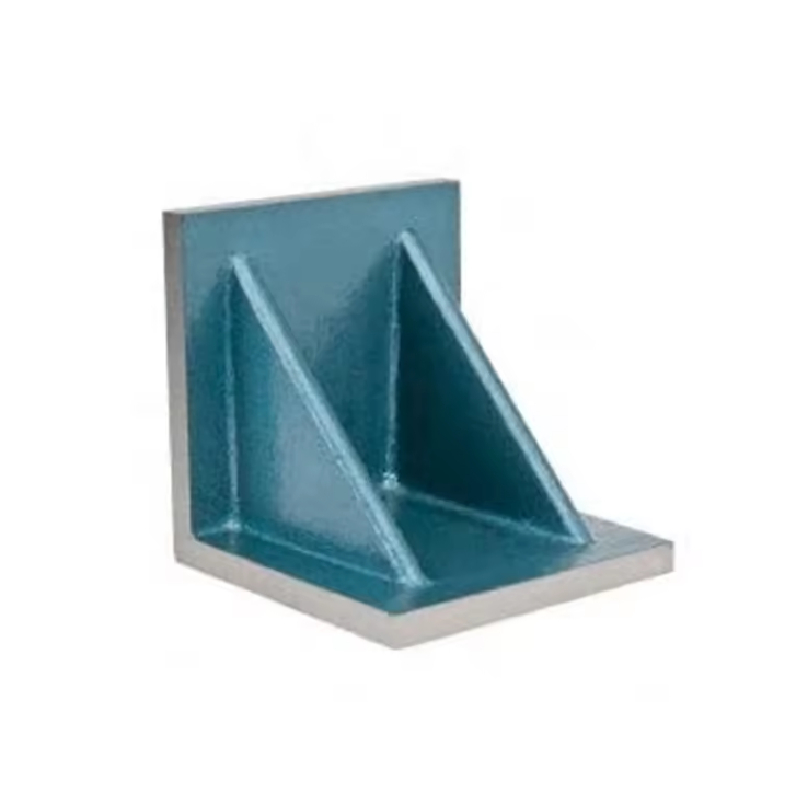
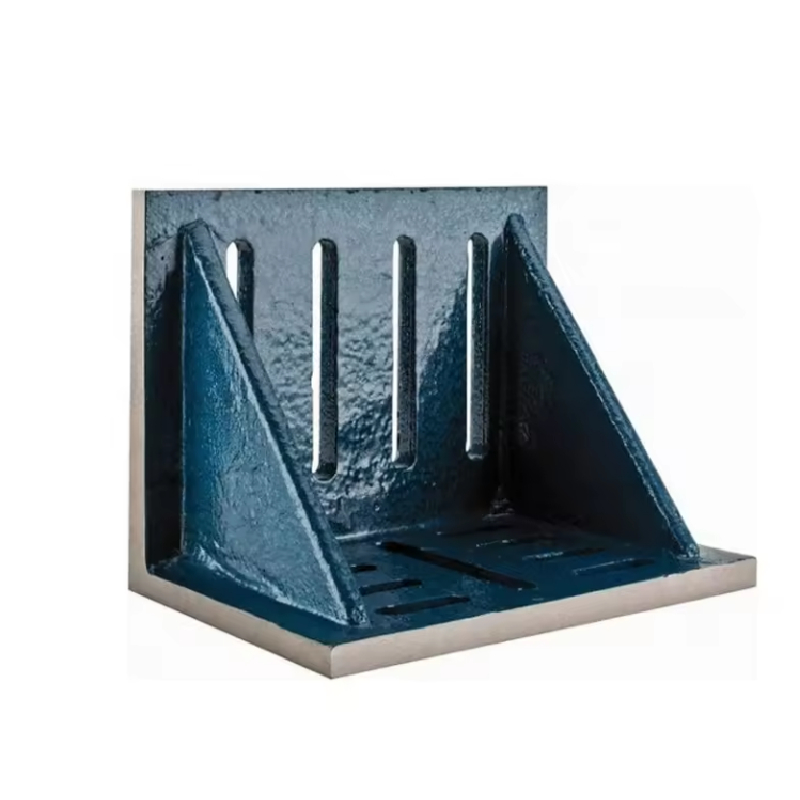
Complementing standard surface plates, our Cast Iron Angle Plates are widely used for making fixtures as well as checking squareness and parallelism of surfaces. Manufactured to exacting standards, all machined faces are precisely square and parallel, ensuring dimensional accuracy for complex measurement setups.
Key features include:
- Stress-relieved construction for long-term stability
- Precision ground surfaces with squareness tolerances within 0.0001" per inch
- Multiple tapped holes for fixture configuration flexibility
- Durable protective coating to minimize corrosion
Global Surface Plate Market Projections ($ Billion)
Technical FAQ: Surface Plate Expertise
Surface plate grades classify precision levels according to ASME B89.3.7 standards:
Grade B (Workshop): ±50 millionths of an inch flatness per foot diagonal
Grade A (Inspection): ±20 millionths of an inch flatness per foot diagonal
Grade AA (Laboratory): ±10 millionths of an inch flatness per foot diagonal
Selection depends on application requirements and measurement tolerances.
Cast iron surface plates excel in vibration damping and impact resistance, making them ideal for workshop environments. Granite plates offer superior thermal stability and are non-magnetic, perfect for precision labs. Composite materials provide a cost-effective alternative with good chemical resistance.
Proper maintenance includes:
1. Daily cleaning with specialized plate cleaner
2. Application of rust preventative during storage
3. Periodic verification with precision level
4. Annual calibration check
5. Professional rescraping every 5-7 years
These procedures extend service life while maintaining accuracy.
Temperature variation is the most significant factor, with cast iron expanding approximately 6 millionths per inch per °F. Industry best practices recommend:
- Maintaining stable temperature (±1°C)
- Avoiding direct sunlight exposure
- Allowing plates to stabilize (1 hour per 50lbs mass per 3°C change)
- Using isolation pads to minimize vibration
Laboratory installations should incorporate three-point mounting systems with adjustable feet. The contact points should follow Airy points for maximum stability. For large plates (over 48"), additional support points with force monitoring are necessary to prevent gravity-induced deformation. Proper mounting preserves certified flatness specifications.
Current innovations include:
- Digitally-integrated plates with embedded sensors
- Modular systems with grid coordinate systems
- Composite-core designs with thermal regulation
- Automated flatness verification systems
- Environmental compensation algorithms
- AI-assisted maintenance scheduling systems
The main price determinants include:
- Flatness grade (B, A, AA)
- Plate thickness (impacting rigidity)
- Material quality and certification
- Mounting system complexity
- Calibration documentation
- Surface finish requirements
- Industry compliance certifications (ISO, ASME)
- Additional features like grid patterns or specialized coatings
Industry Research & Technical References
- ASME B89.3.7 - Surface Plates Standard Specifications
- NIST: Precision Engineering in Metrology Applications
- Journal of Materials Processing Tech: Advanced Materials in Precision Measurement
- Precision Measurement Association: Global Market Analysis 2023
- Intl Journal of Advanced Manufacturing: Vibration Analysis in Metrology Equipment
- Metals Journal: Materials Science of Cast Iron Products
-
Why the Right Angle Ruler Reigns in MetalworkingNewsJul.21,2025
-
The Enduring Allure of Granite Boxes in Modern InteriorsNewsJul.21,2025
-
The Digital Gauging Revolution: Reshaping Thread Rings Inspection's FutureNewsJul.21,2025
-
How Modern Inspection Platforms Transcend Surface MeasurementNewsJul.21,2025
-
How Customization Drives Wholesale Success in Parallel RulersNewsJul.21,2025
-
Fortifying Permanent Steel Ground Anchors Against Corrosion's OnslaughtNewsJul.21,2025
Related PRODUCTS


