8月 . 07, 2024 01:20 Back to list
How to Efficiently Replace a Water Valve in Your Home Plumbing System
Replacing Water Valves A Step-by-Step Guide
Water valves are critical components in plumbing systems, controlling the flow of water to various fixtures and appliances in our homes. Over time, these valves can wear out, leading to leaks, low water pressure, or even complete water shutdowns. Replacing a faulty water valve may seem like a daunting task, but with the right tools and a bit of guidance, you can tackle this project yourself and save on costly plumber fees.
Understanding the Types of Water Valves
Before embarking on the replacement process, it's important to understand the different types of water valves. The most common types include
1. Ball Valves These use a spherical disc to control the water flow and are known for their durability and reliability. 2. Gate Valves Designed to completely stop water flow, gate valves are ideal for on/off control but can become difficult to turn over time. 3. Globe Valves These are used for throttling flow and are recognized for their good flow regulation capabilities. 4. Check Valves These prevent backflow and are essential in maintaining system integrity.
Identifying the type of valve you need to replace will be crucial in the replacement process.
Tools and Materials Needed
To replace a water valve, you will need
- Adjustable wrench - Pipe wrench - Screwdrivers (flathead and Phillips) - Replacement valve (make sure it matches the existing valve specifications) - Plumber’s tape - Bucket or towel (to catch any residual water) - Safety goggles and gloves
Step-by-Step Replacement Process
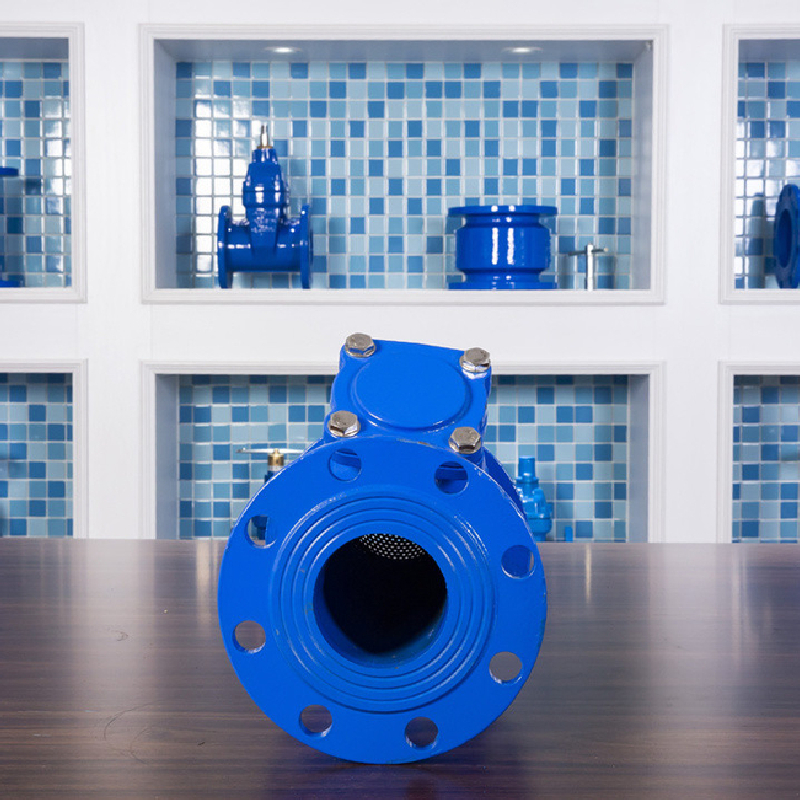
replacing water valve

1. Turn Off the Water Supply The first step is to turn off the main water supply to your home. This will prevent any water from flowing while you’re working on the valve. Open a few faucets to relieve any pressure and drain remaining water.
2. Locate the Valve Find the valve you need to replace. It could be under a sink, near the water heater, or on the water supply line.
3. Remove the Old Valve Use the adjustable wrench to loosen the fittings on either end of the valve. If the valve is stuck, you might need to use a pipe wrench. Be prepared for some water to spill out when you remove the old valve, so have your bucket or towel handy.
4. Clean the Threads Once the old valve is removed, clean the threads on the pipe to ensure a good seal with the new valve.
5. Install the New Valve Apply plumber’s tape to the threads of the existing pipes to prevent leaks. Then, position the new valve and tighten it in place using your wrench. Be careful not to overtighten, as this can damage the fittings.
6. Turn the Water Supply Back On After the new valve is securely in place, turn the main water supply back on slowly. Check for leaks around the new valve—if you notice any, tighten the fittings slightly.
7. Test the Valve Finally, test the new valve by turning it on and off to ensure it operates smoothly.
Conclusion
Replacing a water valve is a manageable task for most DIY enthusiasts, requiring only basic plumbing skills and a few tools. By understanding the types of valves, preparing adequately, and following each step carefully, you can successfully replace a faulty valve and restore your plumbing to its optimal function. With patience and attention to detail, you’ll not only save money but also gain a sense of accomplishment from completing this project on your own. Always prioritize safety and consider consulting a professional if you feel unsure about any part of the process.
-
Water Valve Gate Design Prevents Leakage and CorrosionNewsJul.11,2025
-
Steel Fab Table Features Reinforced Construction for LongevityNewsJul.11,2025
-
Specialized Valve Designs for High Pressure SystemsNewsJul.11,2025
-
Machinist Gauge Pins Feature Ground and Lapped FinishesNewsJul.11,2025
-
Hose Check Valve Prevents Backflow in Irrigation LinesNewsJul.11,2025
-
Durable Micrometer Tools Withstand Heavy Workshop UseNewsJul.11,2025
Related PRODUCTS


