Jul . 04, 2025 09:37 Sanawa dolan
Precision Frame Level Calibration Steps
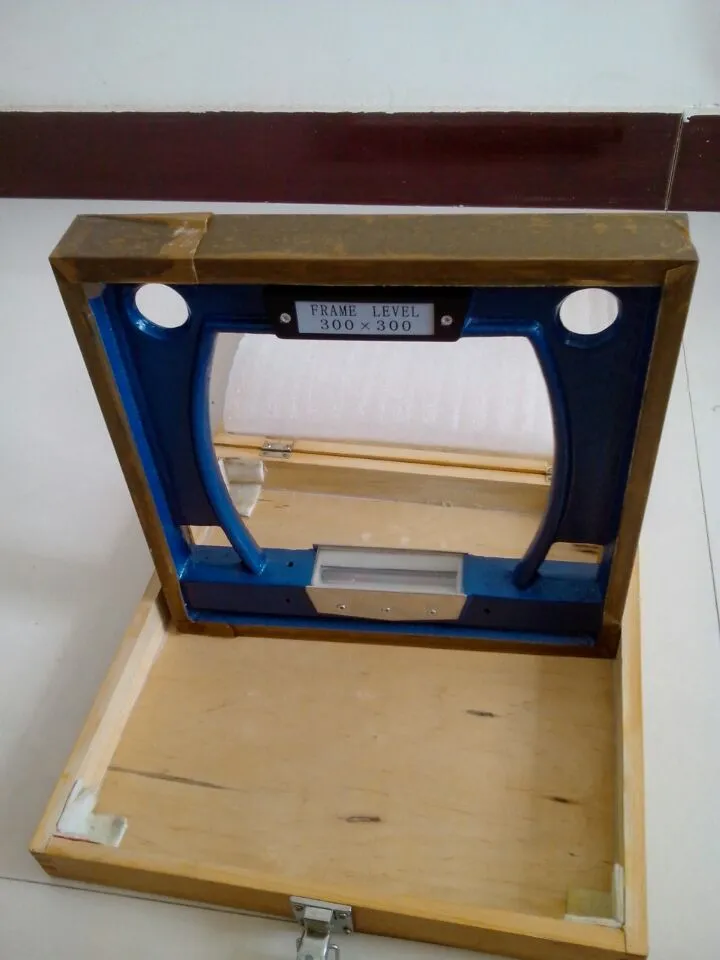
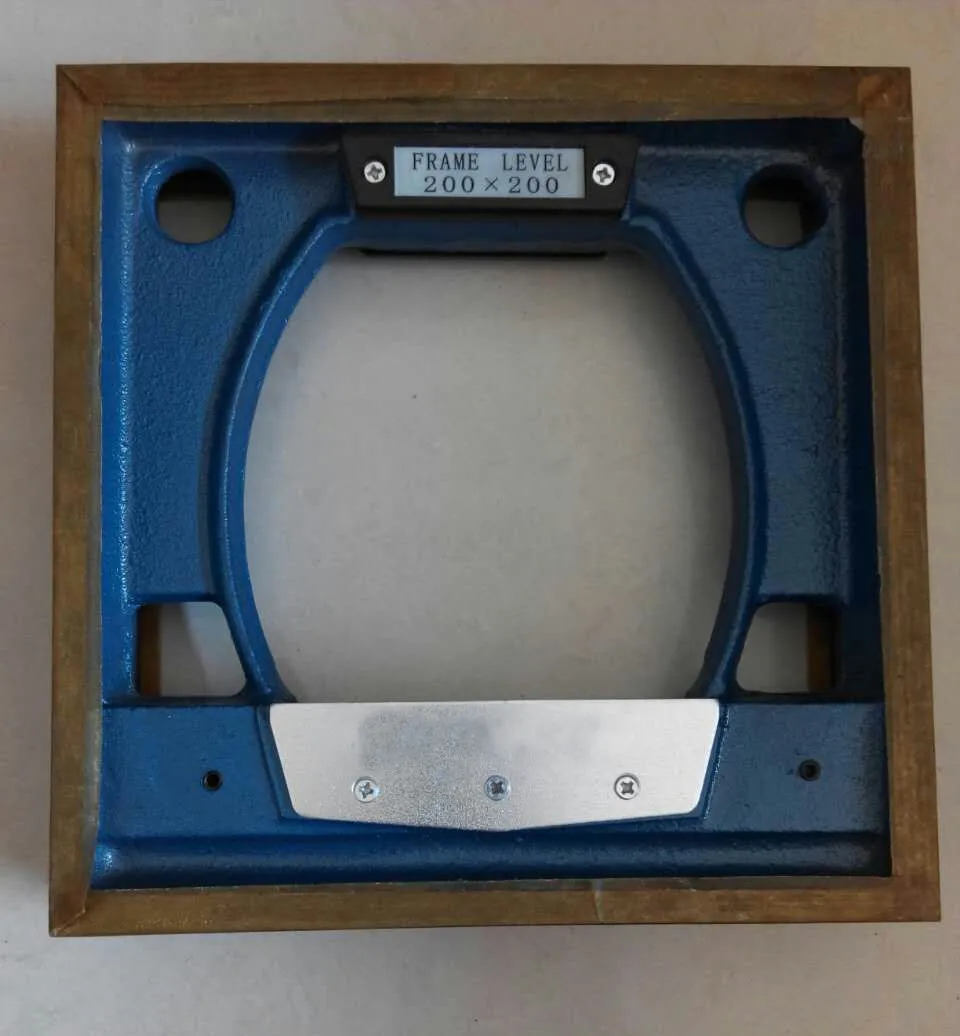
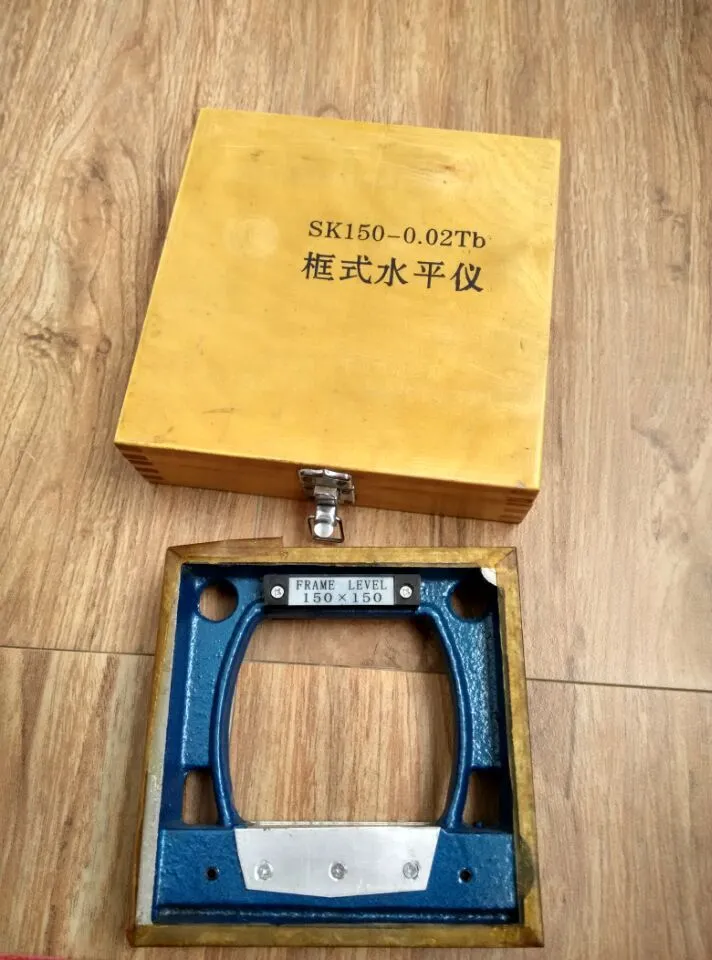
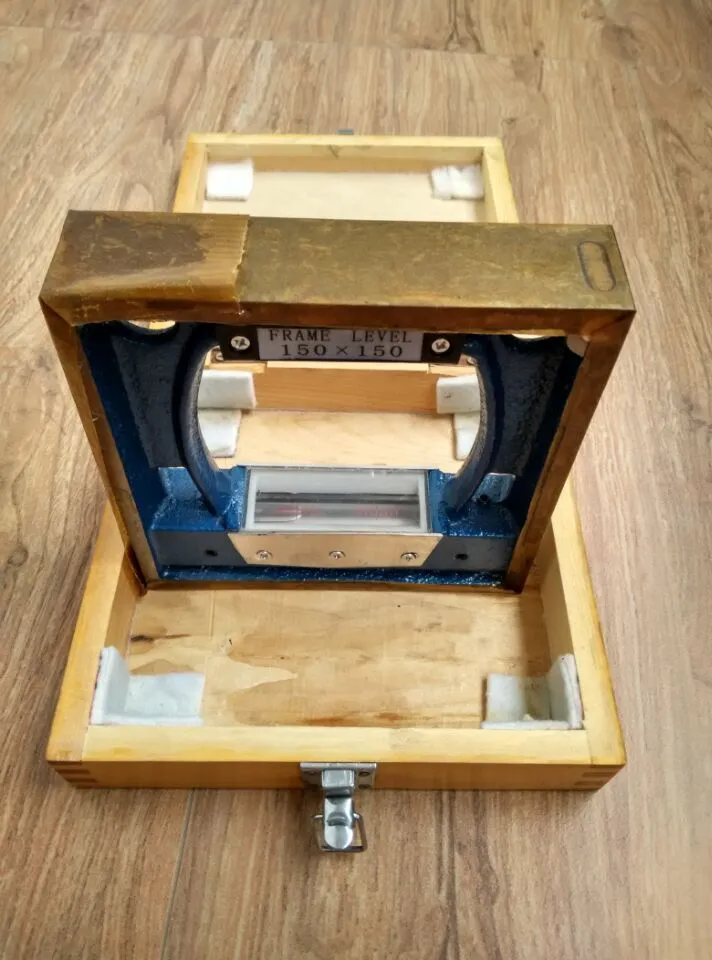
Accurate measurement requires properly calibrated instruments, especially when working with çarçuwanyň derejeleri. Whether you use standard frame spirit level tools or high-end precision frame level equipment, following correct calibration procedures ensures reliable results. This guide details essential calibration techniques for these critical measurement devices.

Preparation for Frame Levels Calibration
- Clean all surfaces of your frame spirit level before beginning calibration
• Establish a stable, vibration-free workspace for precision frame leveladjustment
• Gather necessary calibration tools for çarçuwanyň derejeleri including master levels
• Ensure consistent temperature in the calibration area for frame spirit level accuracy
• Verify all adjustment screws on your precision frame level move freely
|
Step |
Instruction Details |
|
1. Preparation |
Ensure the frame level is clean and free of debris. Check for any visible damage to the vials or frame. |
|
2. Placement |
Position the level on the surface to be measured, ensuring it is stable and aligned with the direction of the intended measurement. |
|
3. Waiting for Stability |
Wait until the bubbles in the vials are completely stationary before attempting to take a reading. |
|
4. Reading the Scale |
Observe the scale indication on the level, which represents the inclination value based on a 1-meter reference. |
|
5. Calculation Formula |
Use the equation: Actual Tilt Value = Scale Indication × L × Number of Deviation Grids |
|
6. Example Calculation |
- Scale reading: 0.02 mm/L |
|
7. Interpretation |
The result (0.008 mm in the example) represents the actual tilt or deviation from level at the measured surface length. |

Horizontal Calibration of Frame Spirit Level
- Place the çarçuwanyň derejelerion a verified horizontal reference surface
• Observe bubble position in the frame spirit levelvial
• Adjust calibration screws on precision frame level until bubble centers
• Rotate the çarçuwanyň derejeleri 180° to verify consistent readings
• Repeat adjustment process until frame spirit level shows perfect horizontal alignment
Vertical Calibration for Precision Frame Level
- Mount the çarçuwanyň derejeleriagainst a precision vertical reference
• Check frame spirit levelbubble position in vertical orientation
• Carefully adjust vertical calibration screws on precision frame level
• Verify by rotating the çarçuwanyň derejeleri 180° vertically
• Confirm consistent readings from all frame spirit level vials

Sensitivity Verification of Frame Levels
- Test precision frame levelresponse using calibrated shims
• Verify frame spirit leveldetects small angular changes
• Compare çarçuwanyň derejeleri against master calibration instruments
• Check multiple measurement points across precision frame level range
• Document sensitivity specifications for each frame spirit level
Final Testing Procedures for Frame Spirit Level
- Perform temperature stability tests on çarçuwanyň derejeleri
• Verify precision frame levelrepeatability across multiple measurements
• Check all frame spirit levelvials for proper fluid clarity
• Test çarçuwanyň derejeleri under actual working conditions
• Complete calibration certificate for precision frame level documentation

Frame Levels FAQS
Q: How does a frame level differ from a frame spirit level in measurement accuracy?
A: A frame level typically refers to a rigid L-shaped tool with multiple bubble vials for checking horizontal and vertical alignment, while a frame spirit level emphasizes the use of liquid-filled vials for precision. The latter often has higher-grade vials (like 0.02mm/m sensitivity) and smoother surfaces, making it ideal for tasks requiring sub-millimeter accuracy, whereas basic frame levels suit general construction.
Q: What features make a precision frame level suitable for industrial applications?
A: A precision frame level incorporates reinforced aluminum or stainless steel frames to resist warping, laser-engraved scales for durability, and shock-absorbing end caps. Unlike standard frame levels, it may include magnetic bases for metal surfaces, dual vials for cross-checking, and certification (like DIN 876) to ensure accuracy within 0.05mm/m—critical for machinery alignment or aerospace setups.
Q: Can a frame spirit level be used for both short and long surface measurements?
A: Yes, but for long surfaces (over 1m), a frame spirit level with extendable arms or a longer body performs better. Shorter models (e.g., 600mm) work for small tasks, but longer levels reduce the need for overlapping measurements, minimizing error. For extreme lengths, pair a precision frame level with a straightedge to maintain accuracy across the entire surface.
Q: How often should I calibrate a precision frame level versus a standard frame level?
A: A precision frame level used in manufacturing or metrology needs calibration every 6–12 months (or after impacts), using a master flat or autocollimator. Standard çarçuwanyň derejeleri in DIY settings can be checked annually by reversing them on a known flat surface. Neglecting calibration in precision tools can lead to cumulative errors—for example, a 0.1mm/m drift over 5m causes a 0.5mm deviation.
Q: What safety precautions apply when using a frame spirit level at height?
A: When using a frame spirit level on ladders or scaffolding, ensure the tool’s non-slip rubber feet grip the surface tightly. For heavy precision frame levels (over 3kg), use a lanyard to prevent drops. Avoid placing the level on uneven edges, as its rigid frame could topple—unlike flexible tools, a frame level’s weight and shape require extra care to prevent both injury and tool damage.
Welcome to Storaen Machinery – Where Precision Forges the Future,Nestled in Botou, China’s ancient casting capital, Storaen (Cangzhou) International Trading Co. blends 2,000 years of metallurgical heritage with cutting-edge engineering. We’re not just manufacturers—we’re architects of industrial reliability, crafting cast iron welding platforms, precision measuring tools, and gauges that define accuracy for global industries.
Our portfolio is a testament to innovation: from granite inspection blocks with HS70+ hardness to digital micrometer sets that measure down to 1μm. Every product carries the Botou legacy—cast in premium alloys, ground to 00-grade flatness, and tested through 27 quality checks. But our edge isn’t just in metal—it’s in mindset. We turn client challenges into custom solutions, whether a aerospace-grade parallel ruler or a factory-scale welding platform.
Sustainability runs through our forges: recycled materials, energy-efficient casting, and a carbon-neutral supply chain. Join partners in 46 countries who trust us to power their precision. Explore www.strmachinery.com to discover how 21st-century tech meets timeless craftsmanship. Let’s shape the future—one micron at a time.
-
Ultimate Guide to Using a Professional Metre Spirit LevelHabarlarApr.16,2026
-
Ultimate Guide to Using and Choosing a Meter Spirit LevelHabarlarApr.09,2026
-
A Comprehensive Guide to Selecting the Ideal Meter Long Spirit Level for Accurate MeasurementsHabarlarApr.07,2026
-
Choosing the Perfect Metal Spirit Level for Accurate Measurements and ProjectsHabarlarApr.04,2026
-
Exploring the Diverse Levels of Spirits Quality and Production TechniquesHabarlarMar.31,2026
-
Understanding the Precision of a Level Spirit Level for Accurate MeasurementsHabarlarMar.28,2026
Baglanyşykly önümler


