јун . 30, 2025 10:36 Назад на листу
Impact of Temperature Fluctuations on Ring Gauge Accuracy
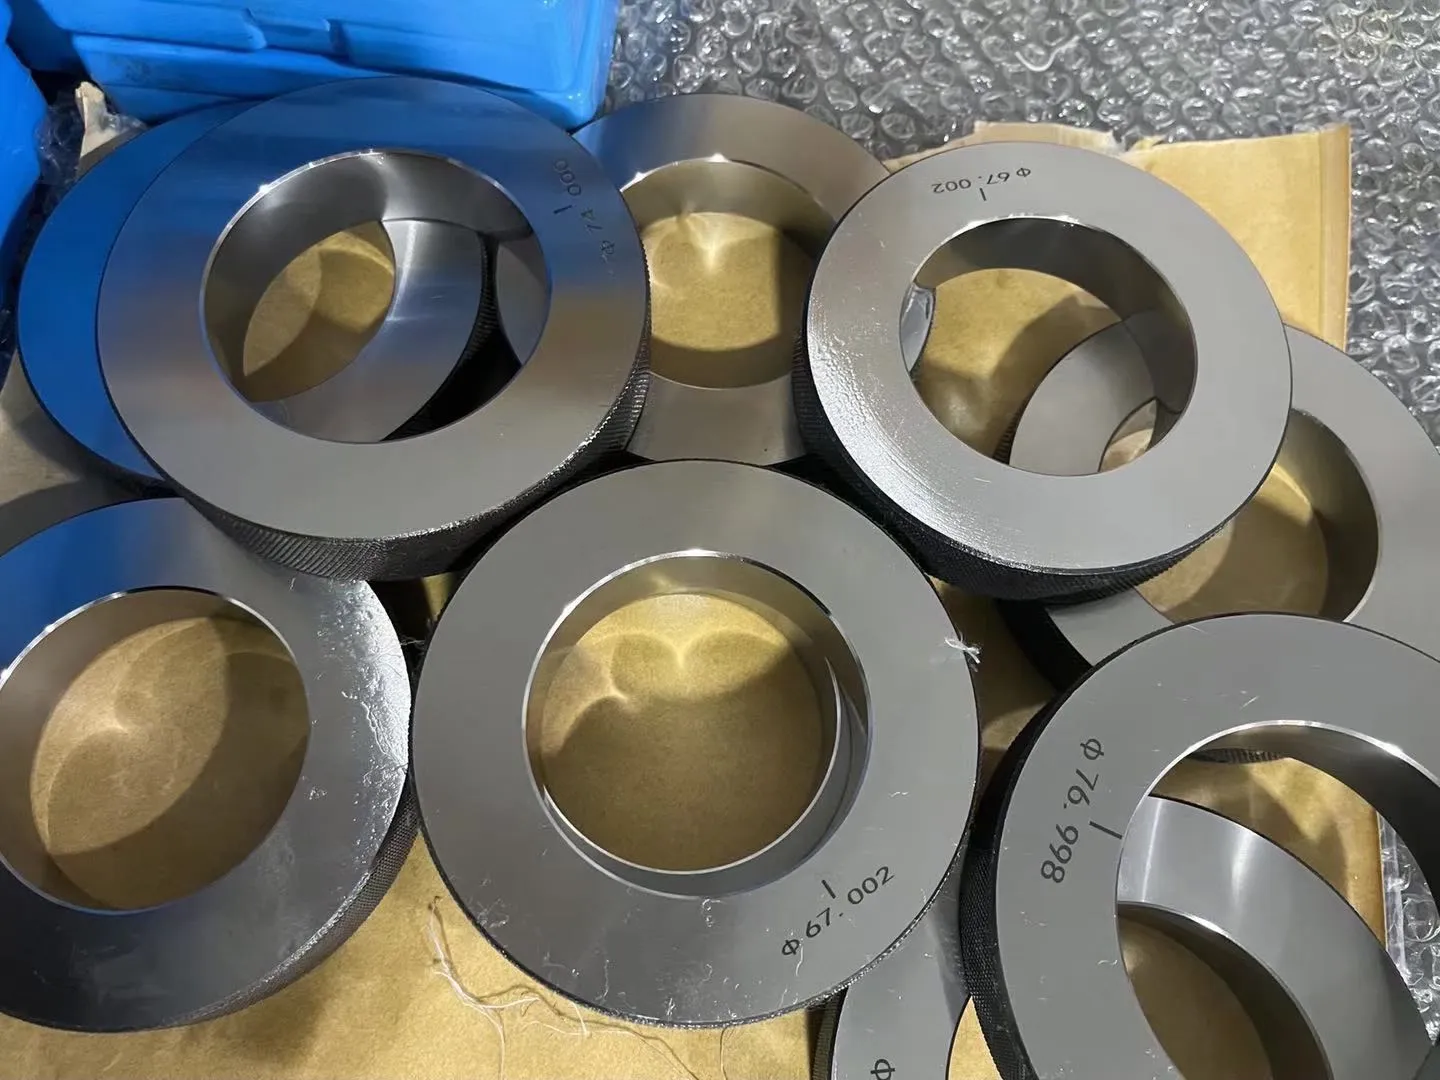
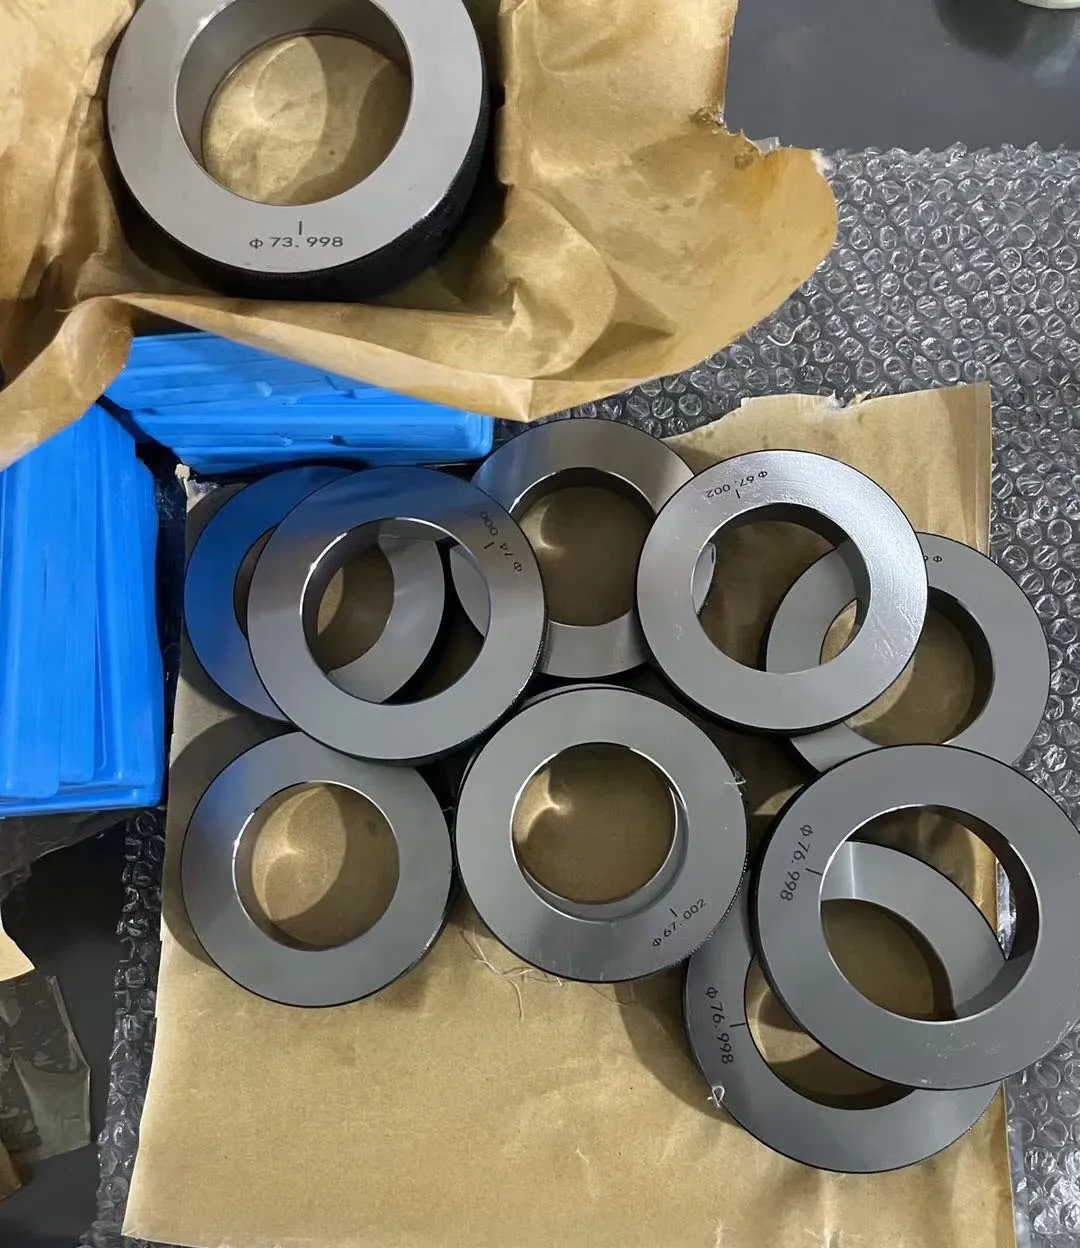
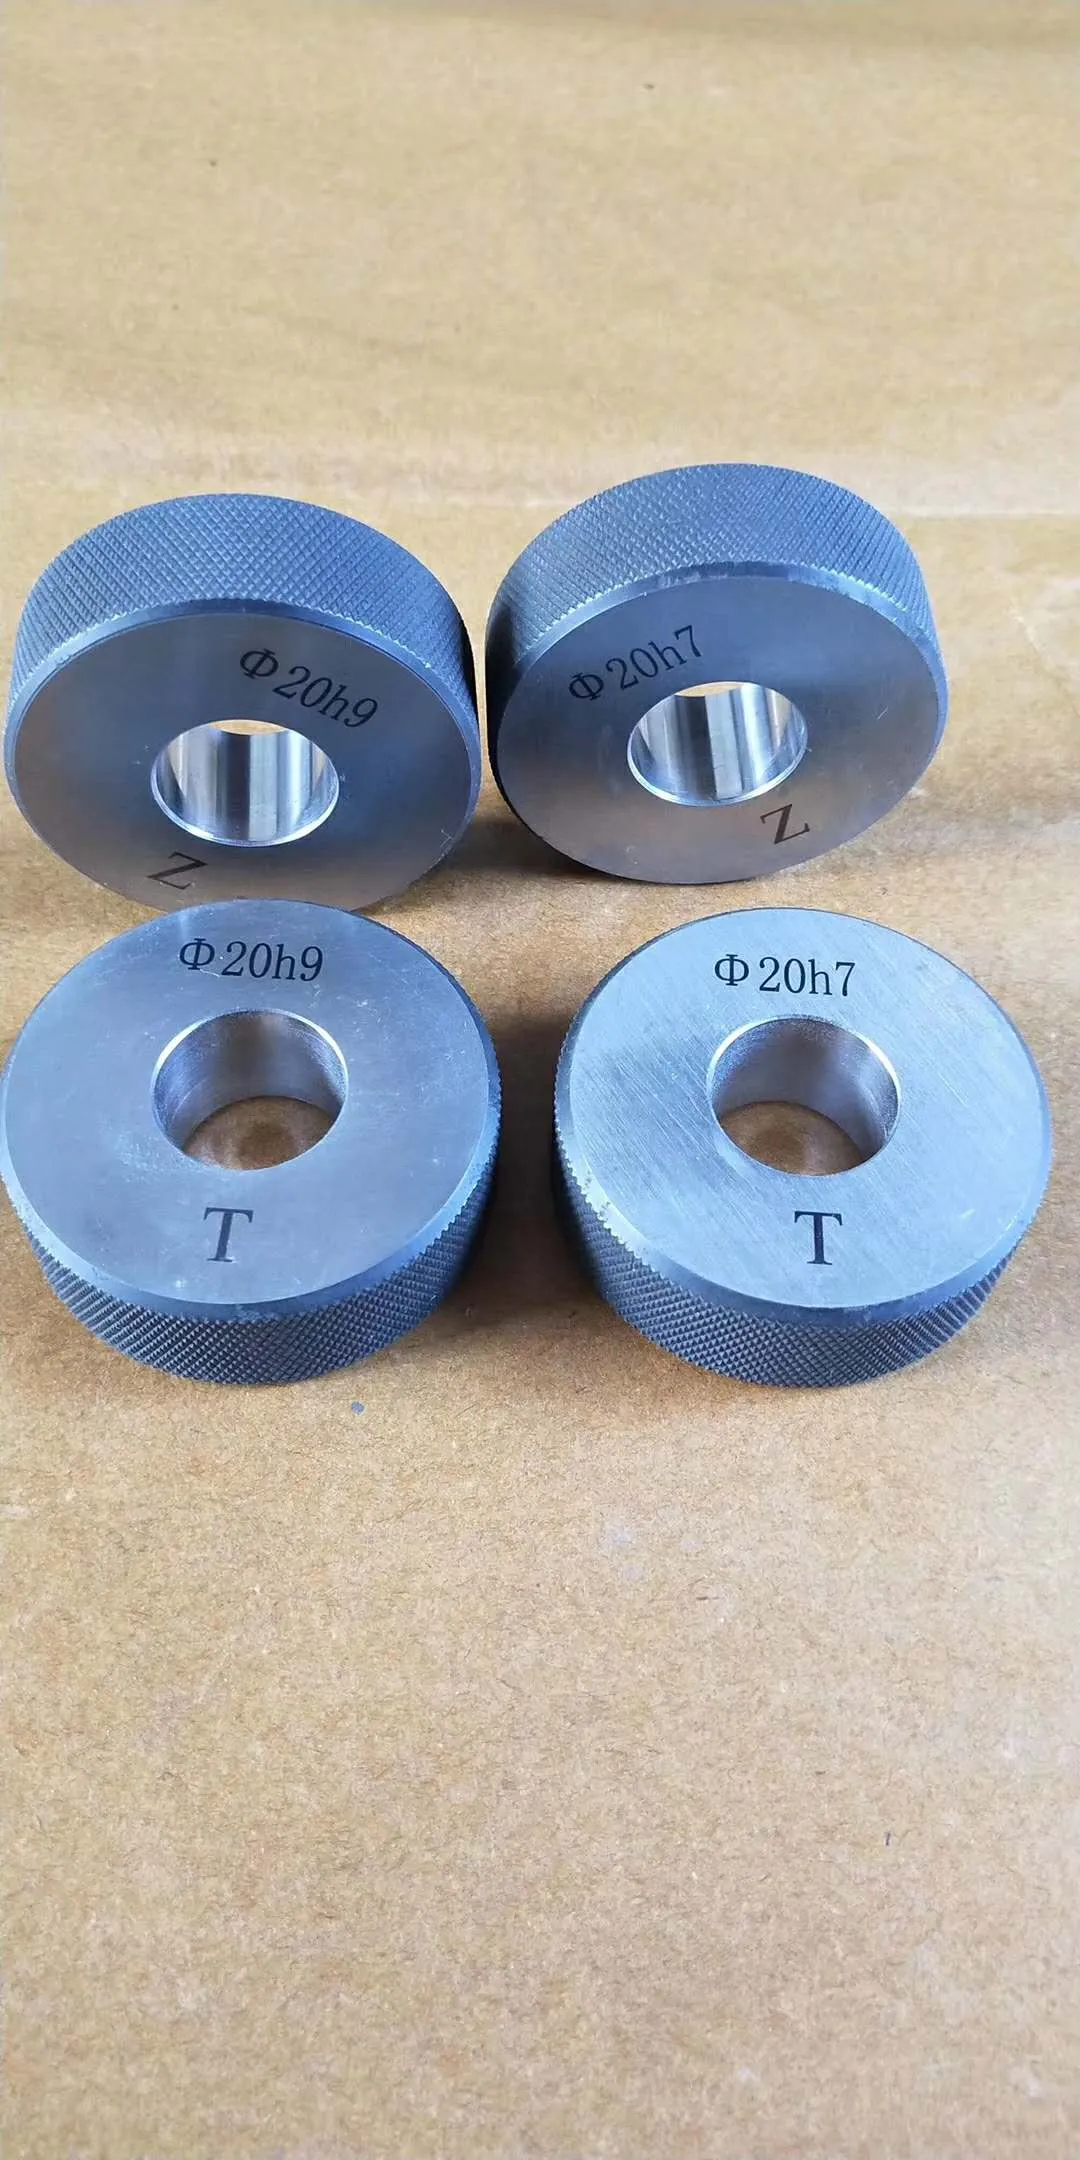
Precision measurement tools like ring gauges are indispensable in industries requiring exact dimensional verification, such as aerospace, automotive, and manufacturing. Among the myriad factors influencing their accuracy, temperature fluctuations stand out as a critical yet often underestimated variable. Even minor thermal changes can induce expansion or contraction in materials, leading to measurement errors that compromise quality control. This article explores how temperature variations impact the performance of metal ring gauge, metric ring gages, gauge meant ring, and general мерач прстена instruments. By understanding these effects, manufacturers can adopt strategies to mitigate risks and maintain stringent accuracy standards.

Thermal Expansion in Metal Ring Gauge Applications
Metal ring gauges are widely used for verifying the internal diameters of machined components. However, their metallic composition makes them inherently susceptible to thermal expansion. For instance, steel, a common material for metal ring gauges, expands by approximately 12 µm per meter for every 1°C temperature increase. In high-precision environments where tolerances are measured in microns, even a 2–3°C shift can render a metal ring gauge temporarily unusable.
To address this, manufacturers calibrate metal ring gauges at a standardized temperature of 20°C, as defined by the International Organization for Standardization (ISO). Deviations from this reference temperature require correction factors. For example, if a metal ring gauge is used in an environment at 25°C, its expanded diameter must be mathematically adjusted to reflect the “true” measurement at 20°C. Advanced metal ring gauges now incorporate temperature-resistant alloys or composite coatings to minimize thermal drift, ensuring reliability in fluctuating conditions.

Metric Ring Gages and the Role of Thermal Compensation
Metric ring gages, designed for ISO-compliant metric measurements, face similar challenges. Their accuracy hinges on maintaining exact internal dimensions, which are directly influenced by ambient temperature. A metric ring gage calibrated for a 50 mm diameter at 20°C could expand to 50.006 mm at 25°C if made from steel—a deviation that exceeds acceptable tolerances for many applications.
To combat this, manufacturers employ thermal compensation techniques. For metric ring gages used in environments with unstable temperatures, dual-material designs are often utilized. For example, a stainless-steel core might be paired with a low-expansion ceramic layer to offset dimensional changes. Additionally, digital metric ring gages embedded with temperature sensors provide real-time data, enabling automatic adjustments to displayed measurements. These innovations ensure that metric ring gages deliver consistent results despite thermal variability.
Calibrating Gauge Meant Ring Tools for Thermal Stability
The term gauge meant ring refers to a specialized category of ring gauges designed for specific calibration tasks, such as setting master gauges or verifying thread plug gauges. Unlike general-purpose ring gauges, a gauge meant ring is often subjected to repeated use in quality control labs, where temperature fluctuations are less extreme but still impactful.
Calibration protocols for gauge meant ring tools emphasize thermal equilibrium. Before use, these gauges must acclimatize to the lab’s ambient temperature for a minimum period—typically 24 hours. For example, a gauge meant ring transported from a warehouse at 15°C to a lab at 22°C requires sufficient time to stabilize. Rapid temperature changes can cause transient distortions, leading to false readings. Manufacturers of gauge meant ring instruments often pre-treat materials through stabilization processes, such as cryogenic hardening, to enhance thermal inertia and reduce sensitivity to minor fluctuations.

FAQs About Ring Gauge Performance
How do temperature fluctuations affect the accuracy of a metal ring gauge?
Temperature changes cause thermal expansion or contraction in the metal ring gauge’s material, altering its internal diameter. For every 1°C deviation from the 20°C standard, a steel metal ring gauge may expand or contract by 12 µm per meter, necessitating mathematical corrections or recalibration.
Can metric ring gages be used in environments with variable temperatures?
Yes, but only with thermal compensation strategies. Advanced metric ring gages incorporate low-expansion materials, digital sensors, or dual-layer designs to counteract temperature-induced dimensional changes.
What steps ensure a gauge meant ring remains accurate during seasonal temperature shifts?
Store the gauge meant ring in a temperature-controlled environment and allow 24 hours for acclimatization before use. Regular recalibration every 6–12 months is also recommended.
How does material choice impact a ring gauge’s thermal sensitivity?
Materials like invar or ceramic-coated steel exhibit lower thermal expansion rates than standard steel, making them ideal for ring gauges used in unstable temperatures.
Are digital ring gauge tools less affected by temperature changes?
Digital ring gauges with embedded temperature sensors can automatically adjust readings based on real-time thermal data, reducing manual correction needs. However, they still require periodic calibration.
Temperature fluctuations pose a universal challenge to the accuracy of ring gauges, but advancements in material science, design, and calibration protocols have significantly mitigated these risks. For metal ring gauges, metric ring gages, and gauge meant ring tools, adherence to ISO standards, coupled with proactive thermal management, ensures reliable performance. Manufacturers producing these instruments in bulk prioritize thermal stability, offering industries robust solutions for precision measurement in even the most demanding environments. By integrating temperature-resistant materials and smart compensation technologies, modern ring gauges continue to uphold the exacting standards required for global manufacturing excellence.
-
Ultimate Guide to Using a Professional Metre Spirit LevelВестиApr.16,2026
-
Ultimate Guide to Using and Choosing a Meter Spirit LevelВестиApr.09,2026
-
A Comprehensive Guide to Selecting the Ideal Meter Long Spirit Level for Accurate MeasurementsВестиApr.07,2026
-
Choosing the Perfect Metal Spirit Level for Accurate Measurements and ProjectsВестиApr.04,2026
-
Exploring the Diverse Levels of Spirits Quality and Production TechniquesВестиMar.31,2026
-
Understanding the Precision of a Level Spirit Level for Accurate MeasurementsВестиMar.28,2026
Повезани ПРОИЗВОДИ


