des . 04, 2024 00:29 Back to list
Guide to Installing a Check Valve in Your Plumbing System
Installing a Check Valve A Comprehensive Guide
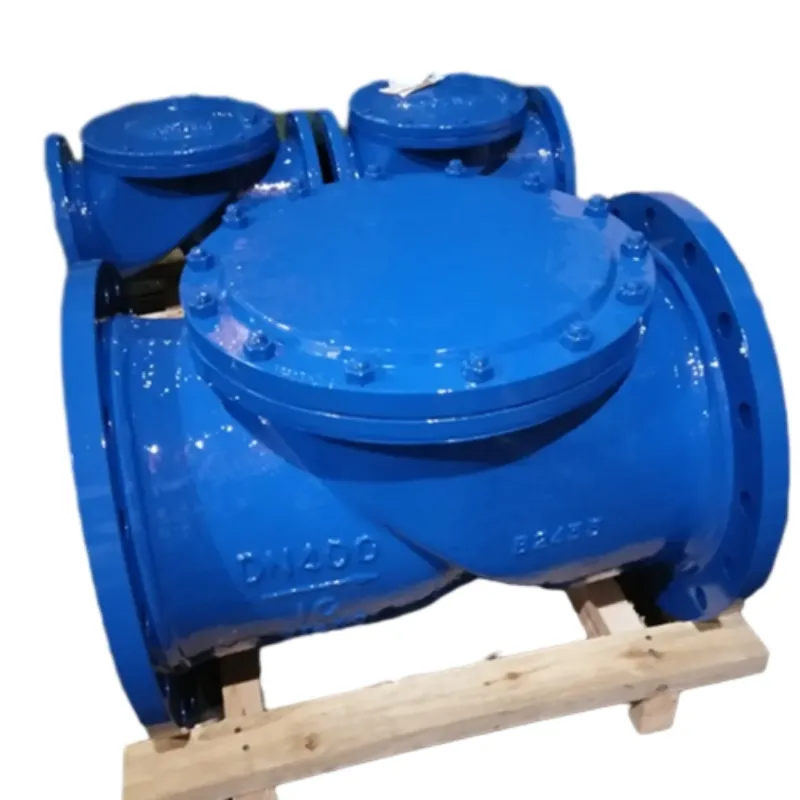
A check valve, also known as a non-return valve or one-way valve, is a crucial component in various plumbing and piping systems. Its primary purpose is to allow fluid to flow in one direction while preventing backflow. This function is essential for many applications, from domestic plumbing to industrial systems. In this article, we will explore the importance of check valves, their types, and a step-by-step guide on how to install one effectively.
Importance of Check Valves
Check valves play a significant role in maintaining the efficiency and safety of fluid systems. Backflow can cause serious issues, such as contamination of water supply, damage to pumps, and inefficient system operation. By preventing reverse flow, check valves help to ensure that systems operate smoothly and that the integrity of the fluid remains intact. They are commonly found in water supply systems, HVAC systems, sewage systems, and various industrial applications.
Types of Check Valves
There are several types of check valves, each designed for specific applications. The most common types include
1. Swing Check Valve This type features a hinged disc that swings open with flowing fluid and swings closed when the flow stops or reverses. It is suitable for applications with high flow rates.
2. Lift Check Valve In lift check valves, the disc moves vertically off its seat as fluid flows in one direction. This type is ideal for applications where space is limited.
3. Inline Check Valve These are installed inline with the piping and are effective for preventing backflow in various kinds of systems.
4. Ball Check Valve This valve uses a ball that moves up and down in response to fluid flow. It is best suited for low-pressure applications.
When selecting a check valve, consider the type of fluid, pressure conditions, and the specific requirements of your system
.Tools and Materials Needed
Before starting the installation, ensure you have the following tools and materials
installing a check valve

- Check valve (appropriate type and size) - Pipe wrench or adjustable wrench - Teflon tape or pipe thread sealant - Screwdriver (if applicable) - Safety goggles and gloves
Step-by-Step Installation Guide
1. Preparation First, turn off the water supply or the flow of the fluid in the pipe where the check valve will be installed. Drain any remaining fluid from the pipes to avoid spills.
2. Choose the Installation Location Select a suitable location for the check valve. It should typically be placed in a horizontal position to ensure proper functioning. Ensure that there is enough space for maintenance and future repairs.
3. Cut the Pipe (if necessary) If you need to install the valve into existing piping, use a pipe cutter to cut the pipe at the desired location. Ensure the cut is clean and straight to facilitate a good seal.
4. Inspect the Check Valve Before installation, inspect the check valve to confirm it is functioning correctly and is free from any damage. Check that the flow direction indicated on the valve matches the intended direction of fluid flow.
5. Apply Sealant Wrap the threads of the pipe with Teflon tape or apply pipe thread sealant to ensure a watertight seal when the valve is installed.
6. Install the Valve Position the check valve in place, aligning it with the pipe ends. Use a wrench to tighten the fittings securely, but be careful not to overtighten as this may damage the valve.
7. Test the Installation Once the valve is installed, turn the water supply back on and check for leaks. Monitor the valve to ensure it is functioning correctly by observing the flow direction and ensuring no backflow occurs.
8. Maintenance Regularly inspect the check valve for any signs of wear or damage. Cleaning the valve occasionally can also help maintain its efficiency, especially in systems that handle dirty or corrosive fluids.
Conclusion
Installing a check valve is a straightforward process that can significantly enhance the reliability and safety of your fluid systems. By following the steps outlined above, you can ensure proper installation and maintenance of your check valve, helping to prevent backflow and extend the life of your plumbing or industrial system. Proper installation and regular checks will promote a smoother and more efficient operation, ultimately saving you time and resources in the long run.
-
Why Metric Trapezoidal Thread is Ideal for Precision Motion ControlNewsAug.05,2025
-
The Unique Properties of a Block of Granite for Industrial UseNewsAug.05,2025
-
The Role of Flanged Y Strainers in Preventing Pipeline ClogsNewsAug.05,2025
-
The Importance of Regular Calibration for Master Ring GagesNewsAug.05,2025
-
How a Cast Iron Surface Table Enhances Accuracy in ManufacturingNewsAug.05,2025
-
Comparing Different Check Valve Types for Optimal Flow ControlNewsAug.05,2025
Related PRODUCTS


