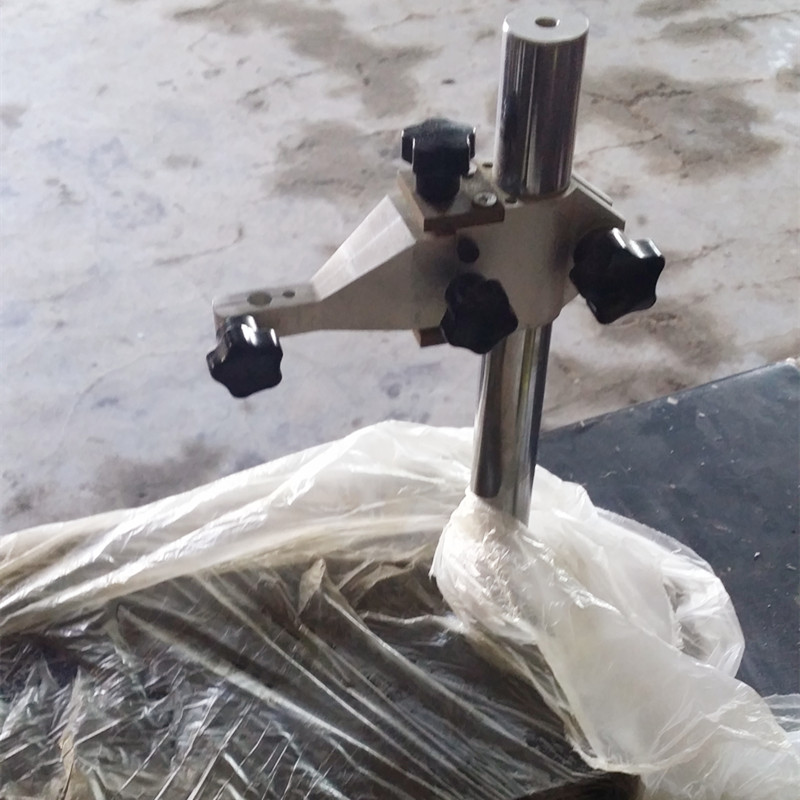
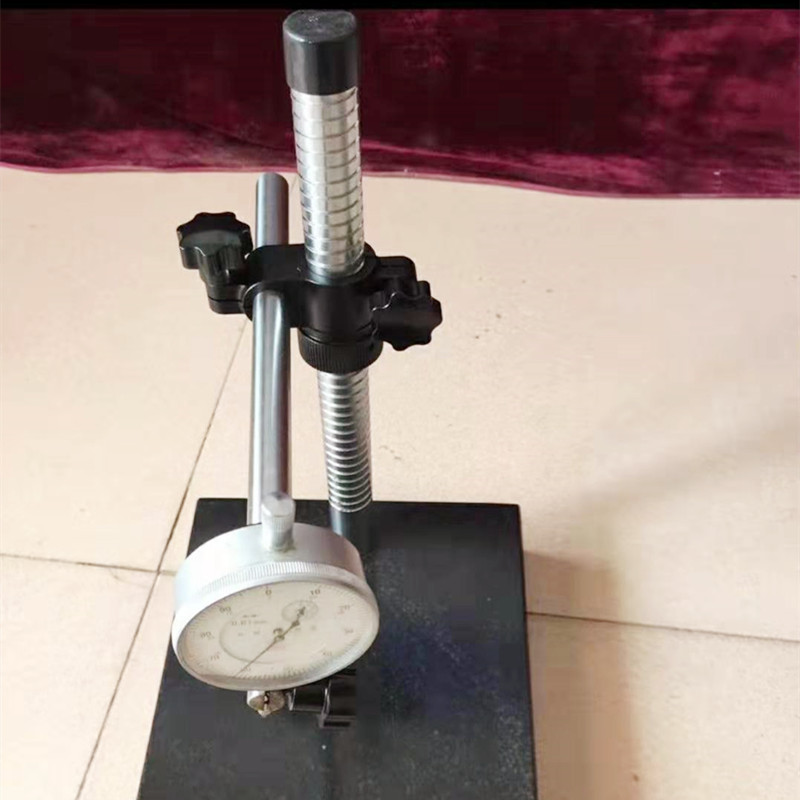
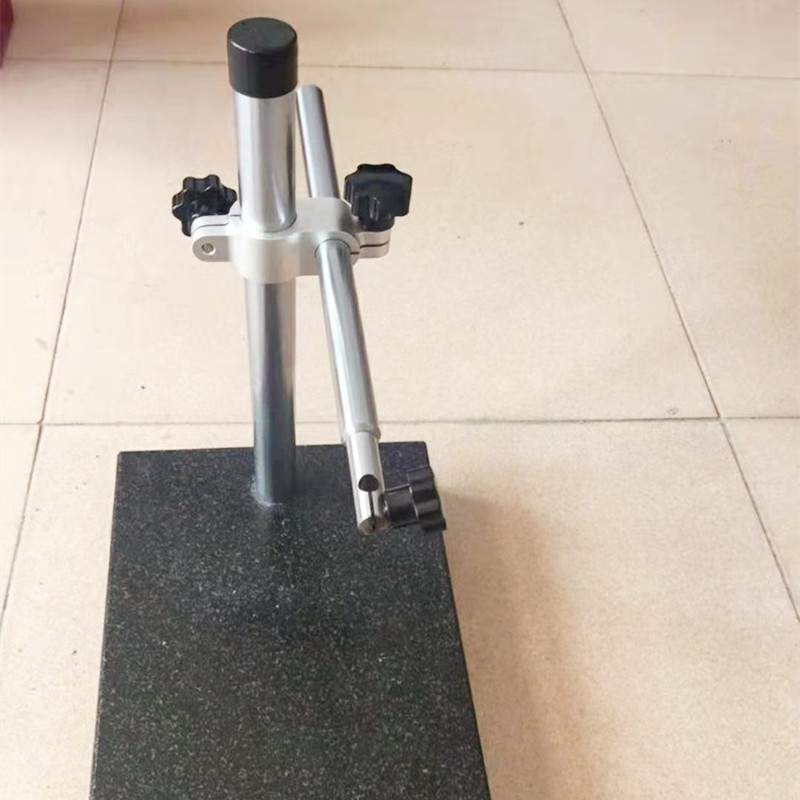
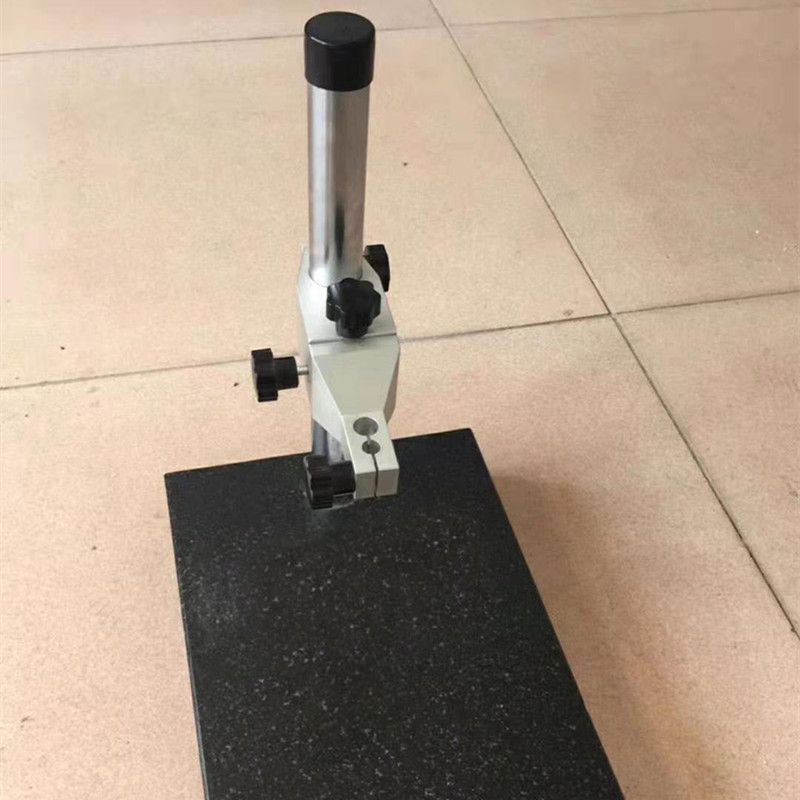
Na-atụ Micrometer
Nkọwa ngwaahịa
Ebe Mmalite: Hebei
Akwụkwọ ikike: 1 afọ
Nkwado ahaziri ahazi: OEM, ODM
Aha ika: Storan
Nọmba Model: 1002
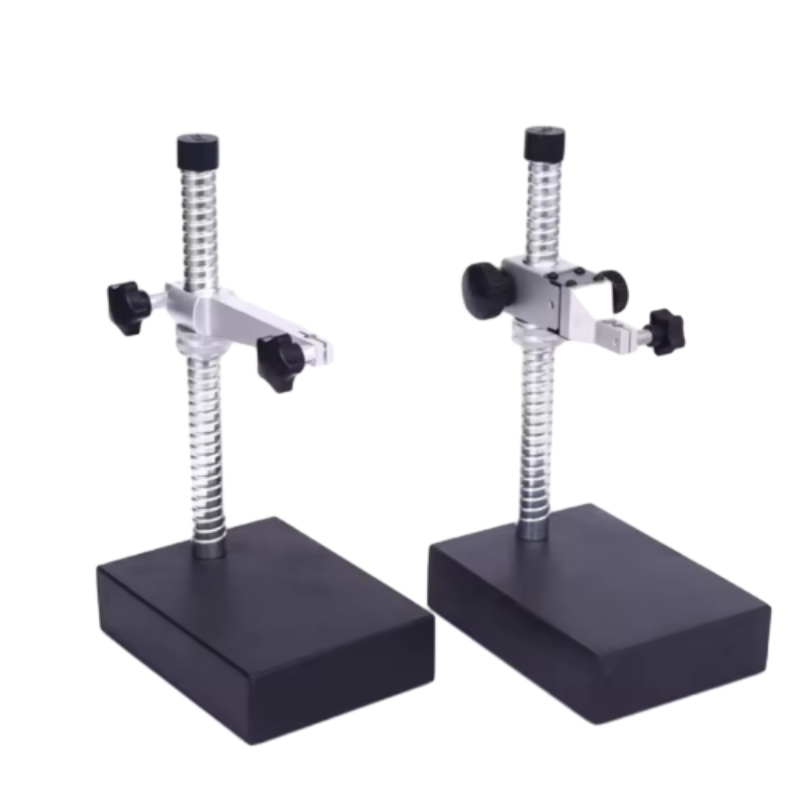
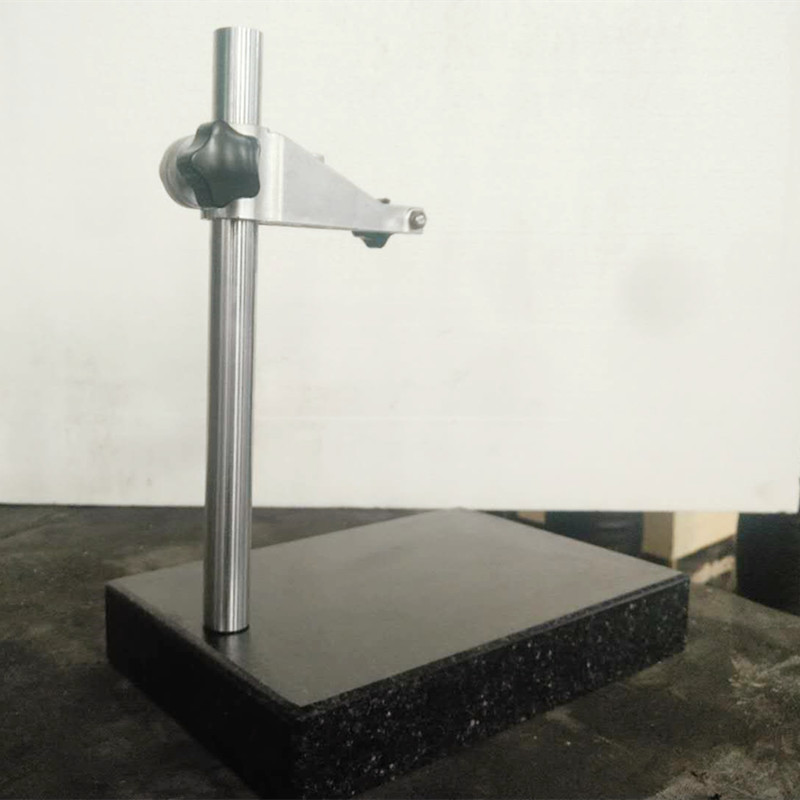
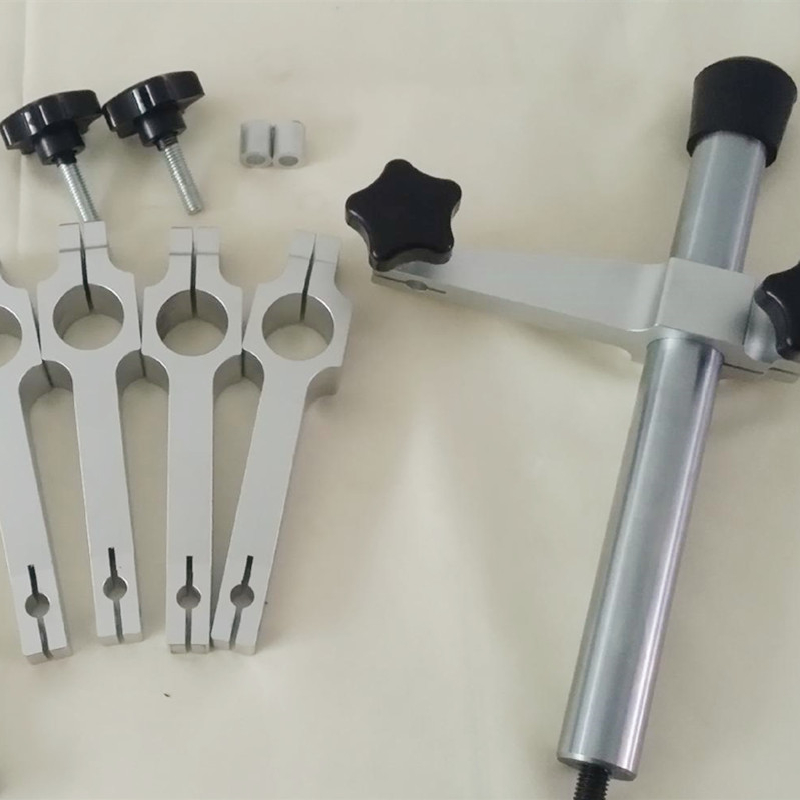
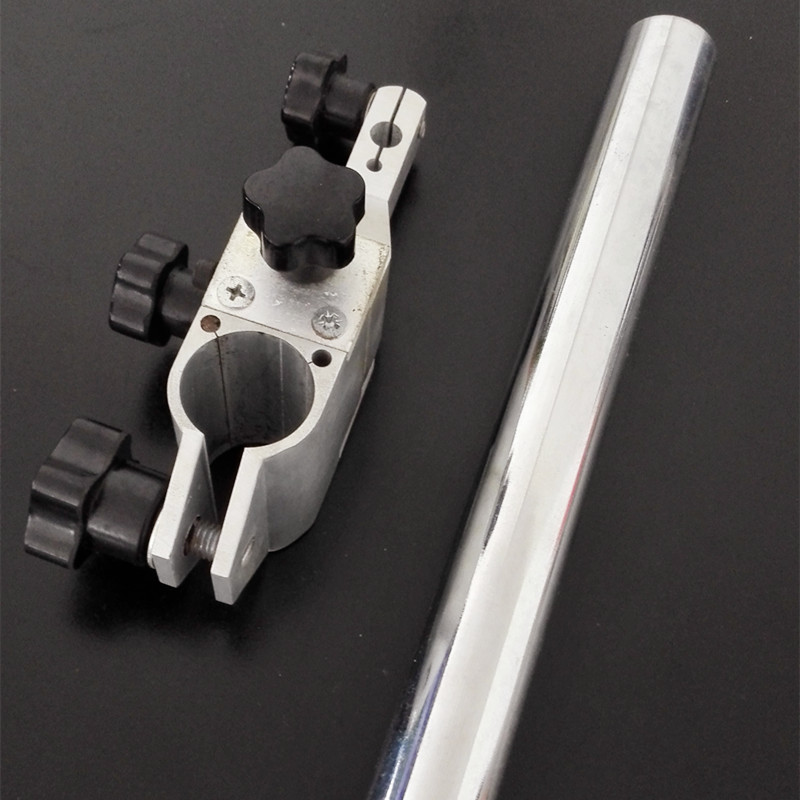
Aha ngwaahịa: Precision Granite Comparator Stand
ihe: Granite
Agba: Nwa
ngwugwu: Plywood Box
OEM: ee
isiokwu: marble elu efere
Port: tianjin
mbupu: site n'oké osimiri
nha: 100*150mm 200*150mm 200*300
Nkọwa nkwakọ ngwaahịa: CARTON BOX GRANITE BASE COMPARATOR
Selling Units: Single item
Single package size: 40X30X30 cm
Single gross weight: 15 kg
Etiti oge
|
Ọnụọgụ (iberibe) |
1 - 100 |
> 100 |
|
Oge ndu (ụbọchị) |
10 |
A ga-enwe mkparịta ụka |
Nkenke micrometer ịghasa mkpanaka base marble ikpo okwu ntụnyere n'elu ikpo okwu
|
Aha ngwaahịa |
Ogo ihe nleba anya granite base nke na-atụ ikpo okwu micrometer spial ọpịpị |
|
Ihe onwunwe |
Granite |
|
Agba |
okike |
|
Nkenkenke |
00 ọkwa |
|
OEM |
ee |
|
Njupụta |
2970-3070kg/cubic mita |
|
ike mkpakọ |
245-254N/m |
|
ike mkpakọ |
erughị 0.13% |
|
Ọnụọgụ nke mgbasawanye linear |
4.61 * 10-6 / ogo |
|
Ngwa |
Akụkụ nchọpụta |
Usoro ngwaahịa
|
Oke nso |
Nkenkenke |
Ọkwa |
Ogologo Ogologo |
Obosara ntọala |
Ebe Elu |
Ogologo mmanya |
Ogologo ogwe aka |
|
100 * 150mm |
0.002 |
00 |
150 |
100 |
50 |
250 |
140 |
|
150 * 150mm |
0.002 |
00 |
150 |
150 |
50 |
250 |
140 |
|
200 * 150mm |
0.002 |
00 |
200 |
150 |
50 |
300 |
140 |
|
300 * 200mm |
0.002 |
00 |
300 |
200 |
50 |
300 |
180 |
|
400*300mm |
0.002 |
00 |
300 |
300 |
50 |
300 |
180 |
|
600*400mm |
0.002 |
00 |
400 |
300 |
50 |
300 |
180 |
Marble Measuring Micrometer vs. Traditional Tools: Key Advantages
When precision matters, marble micrometers from Storaen outperform traditional metal micrometer tools, leveraging natural granite’s stability for industrial measurement. Here’s how they excel:
1. Environmental Resistance
Traditional steel/aluminum tools rust, magnetize, and warp with temperature—problems our micrometer tools eliminate. Crafted from 00-grade granite (density: 2970–3070 kg/m³), it’s:
Corrosion-proof: Ideal for aerospace/medical manufacturing with chemical exposure.
Non-magnetic: Critical for electronics assembly near magnetic fields.
Thermally stable: Linear expansion (4.61×10⁻⁶/°C) is 10x lower than steel, maintaining micrometre precision (0.002mm accuracy) across 10–30°C.
2. Long-Term Precision
Metal tools wear, requiring monthly calibration. Our granite measuring micrometer (7 Mohs hardness) resists scratches, with a polished surface (Ra ≤ 0.02μm) that avoids grooves. Its crystalline structure ensures ISO-certified flatness (e.g., ±0.0015mm for 100x150mm models) without reconditioning.
3. Cost-Effective Durability
While initial micrometre price is 15–20% higher, granite tools last twice as long (50,000+ cycles) and cut maintenance, no rust coatings or frequent calibrations. Custom sizes (100x150mm to 600x400mm) fit existing workflows, reducing retraining.
4. Operator Comfort
The dense granite base dampens vibrations and stays cool (non-conductive), reducing fatigue during long inspections, unlike metal tools that conduct heat and cause thermal errors.
5. Storaen’s Quality Promise
Every Storaen micrometer tool undergoes 3D laser calibration (0.001mm parallelism) and thermal aging, with ISO 9001 certification for semiconductor/aerospace tasks where 0.001mm errors matter.
Choose a type of micrometre that combines natural durability with engineering precision, outlasting traditional micrometer tools in accuracy and total cost.
Measuring Micrometer Advantages: Density, Compressive Strength & Stability
At Storaen, our measuring micrometer series leverages the innate properties of natural granite to deliver unmatched performance in industrial precision measurement. Unlike conventional metal micrometer tools, the density, compressive strength, and thermal stability of our marble-based type of micrometre redefine what’s possible in accuracy, durability, and reliability, critical for applications where even micron-level errors are unacceptable.
- Density: The Foundation of Vibration-Free Measurement
With a density of 2970–3070 kg/m³, 50% higher than aluminum and 20% denser than steel, Storaen’s measuring micrometer base absorbs vibrations from industrial environments, ensuring steady contact with workpieces. This dense structure dampens mechanical noise from nearby machinery, eliminating the micro-movements that plague lighter metal micrometer tools. For tasks like semiconductor wafer inspection or aerospace fastener calibration, this means:
No reading fluctuations: The bubble vial stabilizes 30% faster on our granite base, reducing wait time during measurements.
Consistent surface contact: The heavyweight design ensures uniform pressure across the measuring surface, critical for achieving the precision of micrometer (0.002mm accuracy).
2. Compressive Strength: Resistance to Deformation
Natural granite’s compressive strength (245–254 N/mm²) makes our type of micrometre immune to the warping and denting that degrade metal tools over time. Unlike steel, which yields under 250 N/mm² after repeated stress, our granite measuring micrometer maintains its flatness tolerance (ISO 8512-1 certified ±0.0015mm for 100x150mm models) even after 50,000+ measurement cycles. This is especially vital in:
Heavy-duty manufacturing: When measuring components under load (e.g., hydraulic cylinder parts), the base won’t flex, ensuring true readings.
Long-term storage: The non-porous granite surface resists moisture-induced swelling, keeping the tool ready for use without pre-inspection adjustments.
3. Thermal & Mechanical Stability: Unshaken by Environment
Storaen’s micrometer tools thrive in temperature-sensitive environments thanks to granite’s low linear expansion (4.61×10⁻⁶/°C)—a fraction of steel’s 11×10⁻⁶/°C. This stability:
Eliminates thermal drift: Maintains the precision of the micrometer across 10°C to 30°C, ideal for workshops with fluctuating temperatures.
Resists chemical interference: The non-reactive surface (pH neutral, acid-resistant) won’t corrode from coolant spills or cleaning agents, unlike metal micrometer tools that require protective coatings.
4. Storaen’s Engineering Edge: Turning Properties into Performance
We enhance these natural advantages with precision engineering:
Hand-finished surfaces: Each granite base undergoes a 7-step lapping process to achieve a mirror finish (Ra ≤ 0.02μm), ensuring zero gaps between the tool and workpiece.
Customizable designs: Sizes from 100x150mm to 600x400mm cater to diverse needs, with optional V-grooves for cylindrical measurements—all at competitive micrometre price points that balance quality and cost.
Rigorous certification: Every tool includes an ISO 17025-calibrated report, guaranteeing its stability meets international standards for medical device manufacturing, automotive QC, and other high-stakes fields.
Why Choose Storaen for Your Measuring Micrometer Needs?
While the initial micrometre price for granite tools may be 15% higher than metal alternatives, the total cost of ownership is 30% lower over five years, thanks to zero rust-related repairs, minimal calibration needs, and a 10-year service life. When your measurements demand a type of micrometre that won’t compromise on density, strength, or stability, Storaen’s engineering and nature’s perfection deliver precision you can trust, every time.
Measuring Micrometer Applications: Parallel & Planar Component Measurement
Storaen’s measuring micrometer redefines precision in parallel and planar component inspection, leveraging natural granite’s stability to tackle critical industrial measurement tasks. Unlike conventional micrometer tools, our marble-based type of micrometre ensures unmatched accuracy (0.002mm) and repeatability for components where parallelism and flatness are non-negotiable. Here’s how industries trust Storaen to elevate their quality control:
1. Aerospace Component Calibration
In aircraft manufacturing, where wing spar flats and engine casing surfaces must meet μm-level tolerances, measuring micrometers excels at:
Parallelism Checks: Measuring the gap between turbine blade root platforms with 0.001mm precision, preventing vibration-induced failures.
Flatness Verification: Ensuring cockpit instrument panels are planar within 0.002mm, critical for display alignment and operator safety. The non-magnetic, thermally stable granite base eliminates errors from electromagnetic interference or hangar temperature swings, a must for aerospace QC.
2. Semiconductor Wafer & PCB Inspection
For electronics manufacturers, measuring micrometers addresses the unique challenges of ultra-flat surfaces:
Wafer Thickness Uniformity: Checking silicon wafer parallelism across 300mm diameters, with granite’s low expansion (4.61×10⁻⁶/°C) maintaining accuracy in cleanroom conditions.
PCB Solder Pad Flatness: Ensuring surface mount technology (SMT) pads are planar to avoid solder bridging, a key use case where the precision of micrometers directly impacts component reliability. Storaen’s scratch-resistant granite (7 Mohs hardness) withstands daily use in ESD-controlled environments without surface degradation.
3. Automotive Die & Mold Manufacturing
In die-casting and injection molding, our type of micrometre optimizes production by:
Checking Die Cavity Parallelism: Measuring the gap between injection mold halves to 0.002mm, preventing flash and ensuring uniform part thickness.
Flatness of Machined Engine Blocks: Verifying cylinder head mating surfaces for oil-tight seals, reducing warranty claims from leaks. The cost-effective design (15% lower TCO than metal tools) makes Storaen’s measuring micrometer ideal for high-volume automotive QC, where repeated measurements demand durability.
4. Optical Component Alignment
For lens and mirror manufacturers, micrometre tools ensure optical surfaces meet strict specifications:
Parallelism of Prism Faces: Critical for laser beam path accuracy in optical instruments.
Flatness of Mirror Substrates: Maintaining <0.001mm deviation to avoid image distortion in telescopes or medical scopes. The vibration-dampening granite base (density 2970 kg/m³) stabilizes readings in busy workshops, outperforming metal micrometer tools prone to resonance errors.
5. Storaen’s Value Proposition
Every Storaen measuring micrometer combines:
ISO-Certified Precision: 00-grade flatness (±0.0015mm for 100x150mm models) validated by 3D laser calibration.
Cost-Effective Durability: 10-year lifespan with minimal maintenance, lowering the cost of micrometer ownership by 30% vs. steel alternatives.
Custom Solutions: V-grooved bases or extended arms for non-standard planar/parallel measurements, available at competitive pricing.
When your components’ parallelism and flatness define project success, trust Storaen’s measuring micrometer, where natural granite’s stability meets engineering excellence to deliver the precision of micrometers that industries depend on.
Ihe osise nkọwa ngwaahịa
Ejikọtara ya Ngwaahịa
Akụkọ metụtara
Thread Plug Gauge Requires Careful Handling
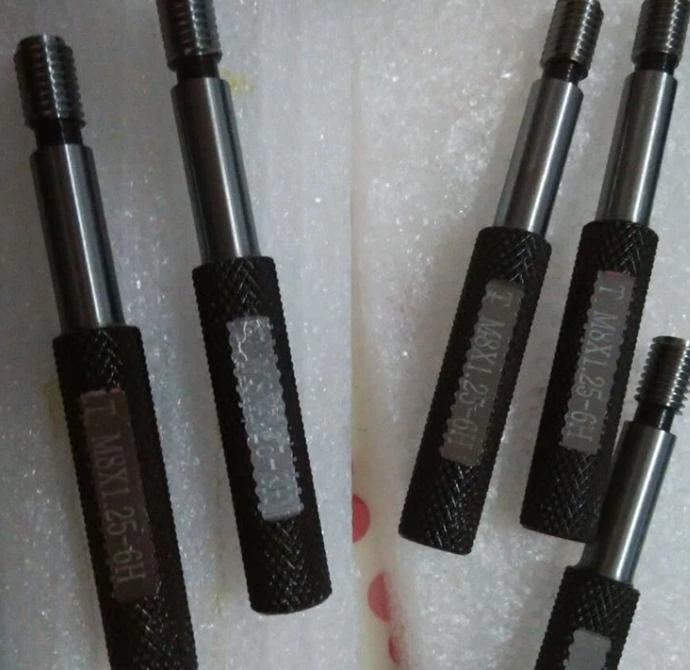
In the world of manufacturing and engineering, precision is non-negotiable—especially when it comes to threads, which are critical components in machinery, construction, and everyday products.
Surface plate calibration
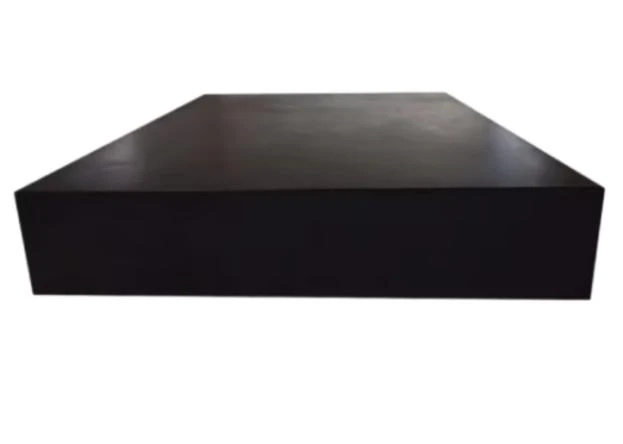
In today's world, where precision and accuracy are crucial in various industries, the use of granite inspection tables and granite surface plates has become increasingly popular.
Ring Gauge Ensures Machining Accuracy
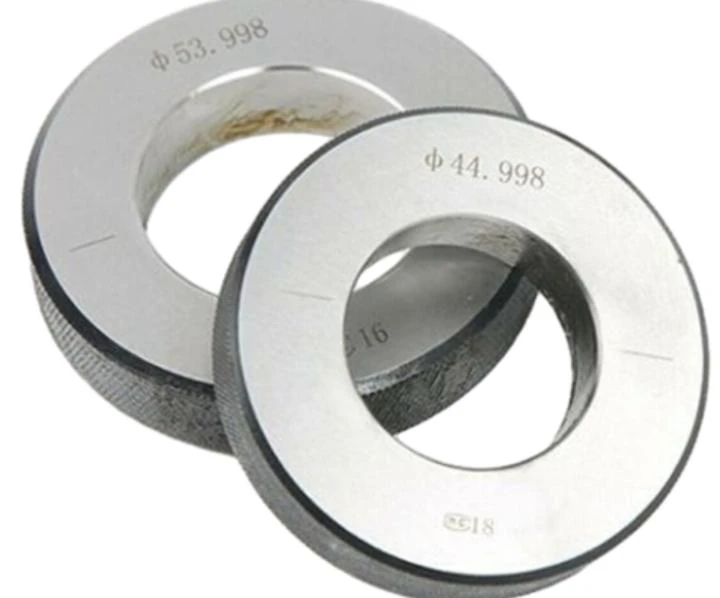
In the world of precision engineering, manufacturing, and quality control, accuracy is the cornerstone of reliability.


