Jun . 25, 2025 09:33 Retounen nan lis la
Spline Gauge Selection Guide for Complex Gear Profiles
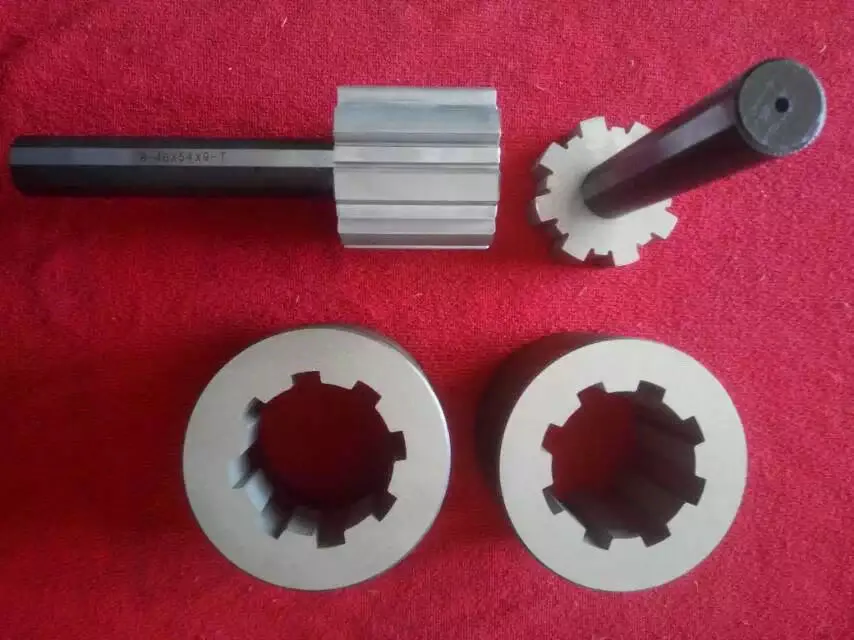
Selecting the right kalib spline for complex gear profiles is critical to ensuring precision, durability, and compliance in industrial applications. As gears become more intricate to meet advanced engineering demands, the tools used to measure and validate them must evolve. This guide explores four pillars of kalib spline selection—calibration, design, standards, and application—to help manufacturers and quality assurance teams make informed decisions. Whether producing automotive transmissions, aerospace components, or heavy machinery, understanding these factors ensures seamless integration of spline gauges into high-volume production workflows.

Spline Gage Calibration: Ensuring Precision in Measurement
Spline gage calibration is the cornerstone of maintaining measurement accuracy over time. Even the most meticulously designed kalib spline can lose precision due to wear, environmental factors, or repeated use. Calibration involves comparing the gauge against a master standard to identify deviations and adjust its dimensions accordingly. For complex gear profiles, this process must account for nuanced parameters such as pressure angle, tooth thickness, and root clearance.
High-volume manufacturers should prioritize automated calibration systems that minimize downtime. These systems use laser scanners or coordinate measuring machines (CMMs) to validate kalib spline geometry with micron-level accuracy. Additionally, calibration frequency should align with production cycles—for example, gauges used in 24/7 automotive assembly lines may require weekly checks, while those in lower-volume aerospace applications might follow monthly schedules.
Key considerations for spline gage calibration include:
Traceability to international standards (e.g., ISO/IEC 17025).
Environmental controls (temperature, humidity) to prevent thermal expansion errors.
Documentation protocols for audit compliance.
By integrating rigorous calibration practices, manufacturers ensure that spline gauges remain reliable across millions of measurement cycles.
Spline Gauge Design: Tailoring Tools for Complex Profiles
The effectiveness of a kalib spline hinges on its design, especially when measuring gears with non-standard tooth forms, helical angles, or asymmetric profiles. Custom spline gauge design begins with a detailed analysis of the gear’s functional requirements, such as load capacity, rotational speed, and mating component tolerances.
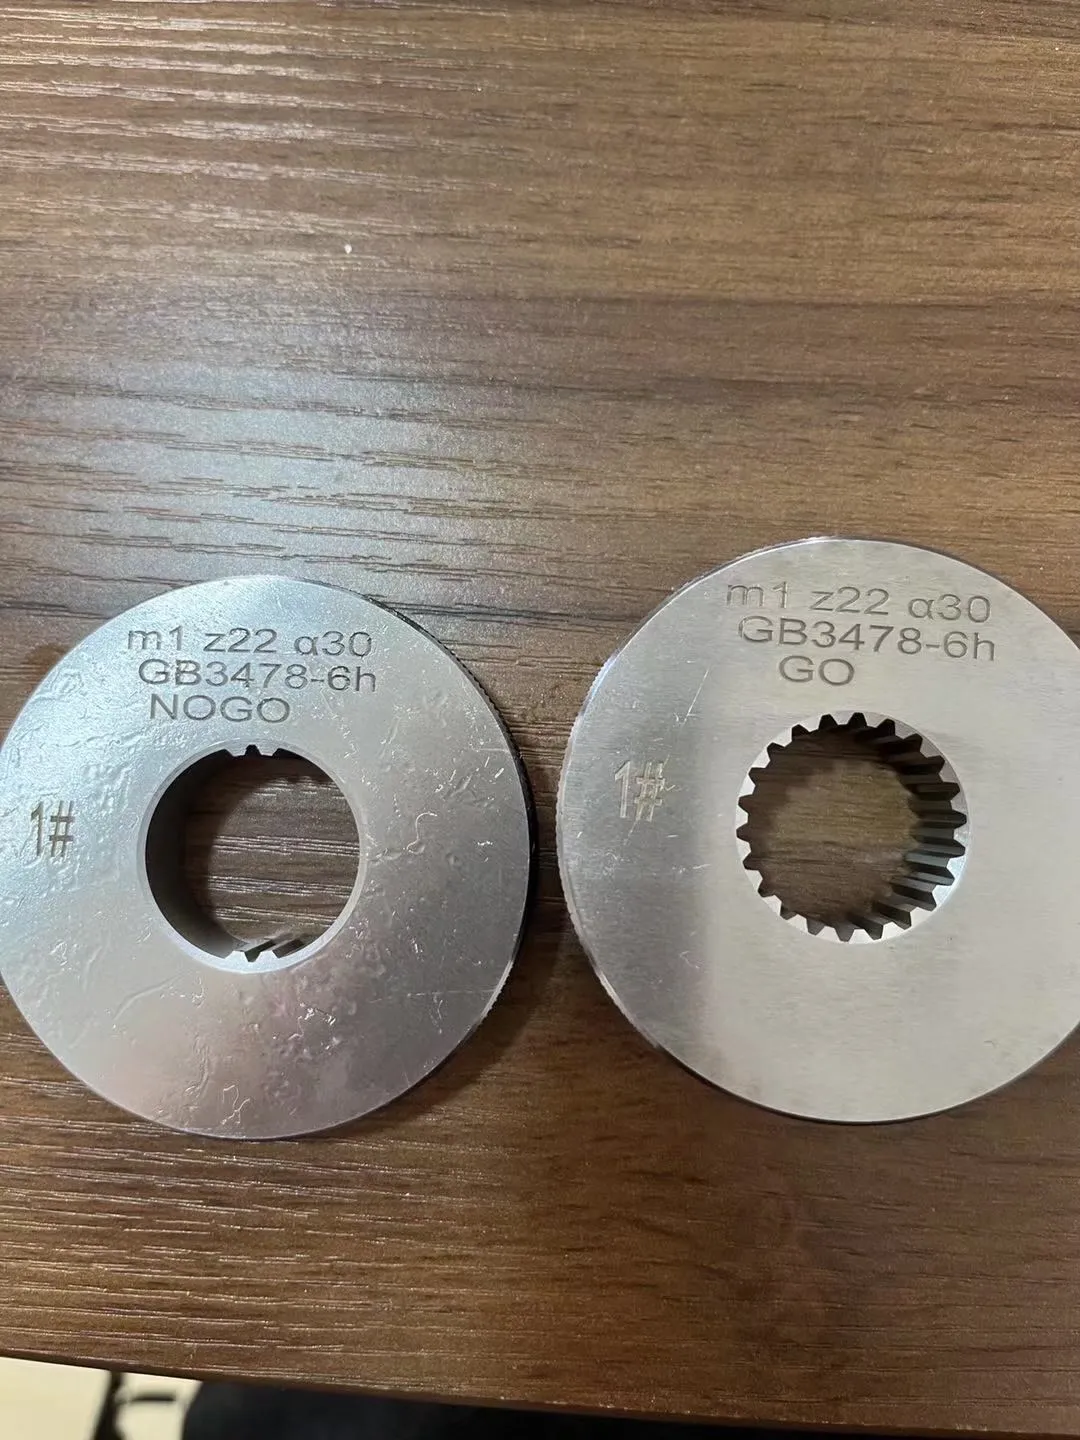
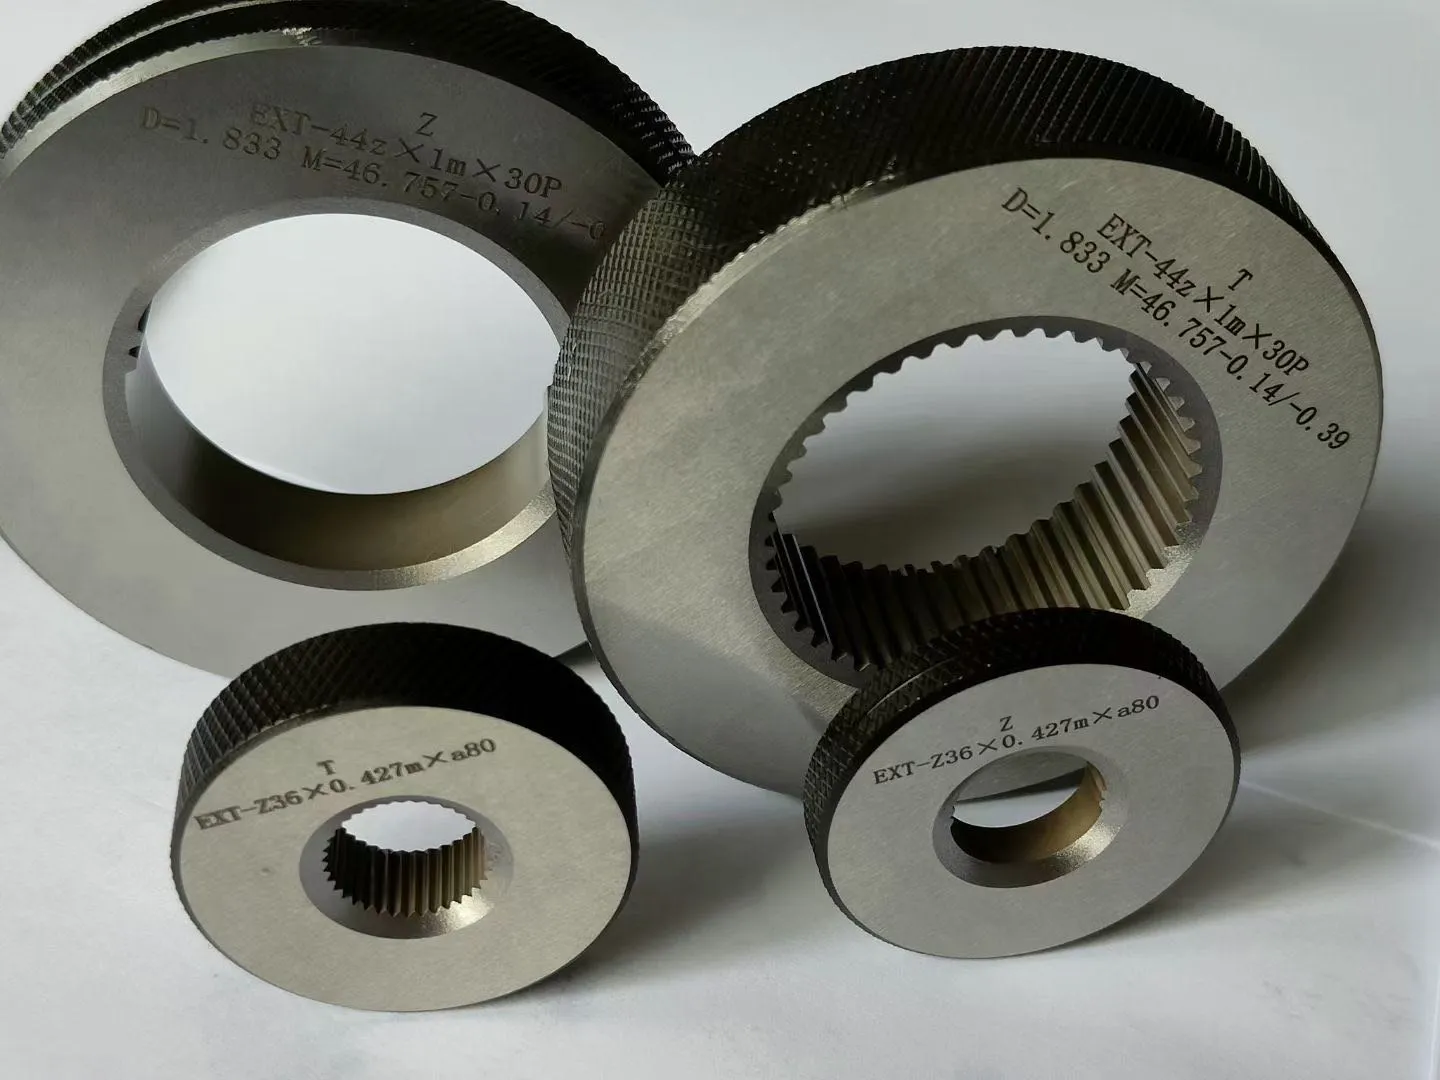
For complex geometries, manufacturers often opt for progressive or composite gauges. Progressive gauges combine multiple measurement features into a single tool, reducing inspection time for high-volume production. Composite gauges, meanwhile, validate the “go” and “no-go” limits of a spline simultaneously, ensuring that gears fit perfectly within their assemblies.
Material selection is another critical aspect of spline gauge design. Tool steel alloys like D2 or M2 offer wear resistance, while carbide variants excel in high-temperature environments. Surface treatments, such as nitriding or titanium coatings, further extend operational lifespans.
Case Study: A turbine gear manufacturer required a kalib spline to inspect helical splines with a 45-degree twist angle. By collaborating with engineers to optimize the gauge’s lead angle and tooth contact ratio, the final design reduced inspection errors by 22% and accelerated throughput by 15%.

Spline Gauge Standard: Compliance and Industry Benchmarks
Adherence to spline gauge standards is non-negotiable in regulated industries like automotive, defense, and medical devices. Standards such as ANSI B92.1, DIN 5480, and ISO 4156 define tolerances, surface finish requirements, and inspection methods for splined components. These guidelines ensure interoperability between gears and their mating parts, reducing the risk of assembly failures.
When selecting a kalib spline, manufacturers must verify that the tool aligns with the relevant standard’s:
Tolerance grades (e.g., Class 4 for aerospace vs. Class 5 for general machinery).
Measurement principles (e.g., pin diameter calculations for involute splines).
Reporting formats (e.g., ASME Y14.5 for geometric dimensioning).
Global suppliers often provide spline gauges pre-certified to multiple standards, simplifying compliance for multinational operations. Regular audits and third-party certifications further validate adherence, fostering trust in high-stakes supply chains.

FAQs sou Spline Gauges
How often should spline gauge calibration be performed?
Calibration frequency depends on usage intensity and environmental conditions. For high-volume production, calibrate every 500–1,000 cycles or quarterly, whichever comes first. Always follow the guidelines provided in ISO 17025 or your internal quality manual.
What factors influence spline gauge design for helical gears?
Helical gears require gauges with matching lead angles and adjusted tooth spacing to account for the helix twist. Material rigidity and surface finish are also critical to prevent deflection during measurement.
Which spline gauge standard applies to automotive transmissions?
ANSI B92.1 is widely used in North America, while DIN 5480 is common in Europe. Many global manufacturers design gauges to comply with both standards for flexibility.
Can a single spline gauge inspect multiple gear sizes?
No. Each kalib spline is tailored to specific dimensions, such as major diameter, pitch, and tooth count. Using mismatched gauges risks measurement inaccuracies.
How do environmental factors affect spline gauge performance?
Temperature fluctuations cause thermal expansion, altering gauge dimensions. Always store and use gauges in controlled environments (20°C ±1°C) per ISO 1 guidelines.
Selecting the right kalib spline for complex gear profiles demands a holistic approach—balancing precision calibration, innovative design, strict adherence to standards, and practical application insights. For manufacturers operating at scale, investing in high-quality gauges and robust calibration protocols not only safeguards product quality but also enhances operational efficiency. By leveraging industry benchmarks and addressing common challenges through the FAQs above, teams can streamline their workflows and maintain competitiveness in precision engineering markets.
-
Ultimate Guide to Using a Professional Metre Spirit LevelNouvèlApr.16,2026
-
Ultimate Guide to Using and Choosing a Meter Spirit LevelNouvèlApr.09,2026
-
A Comprehensive Guide to Selecting the Ideal Meter Long Spirit Level for Accurate MeasurementsNouvèlApr.07,2026
-
Choosing the Perfect Metal Spirit Level for Accurate Measurements and ProjectsNouvèlApr.04,2026
-
Exploring the Diverse Levels of Spirits Quality and Production TechniquesNouvèlMar.31,2026
-
Understanding the Precision of a Level Spirit Level for Accurate MeasurementsNouvèlMar.28,2026
PWODWI ki gen rapò


