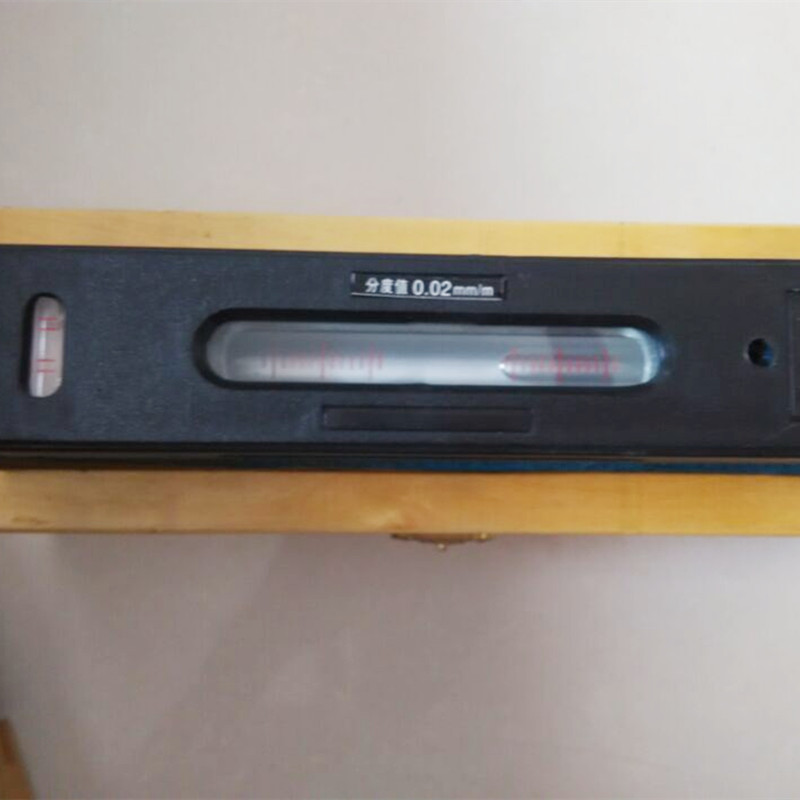
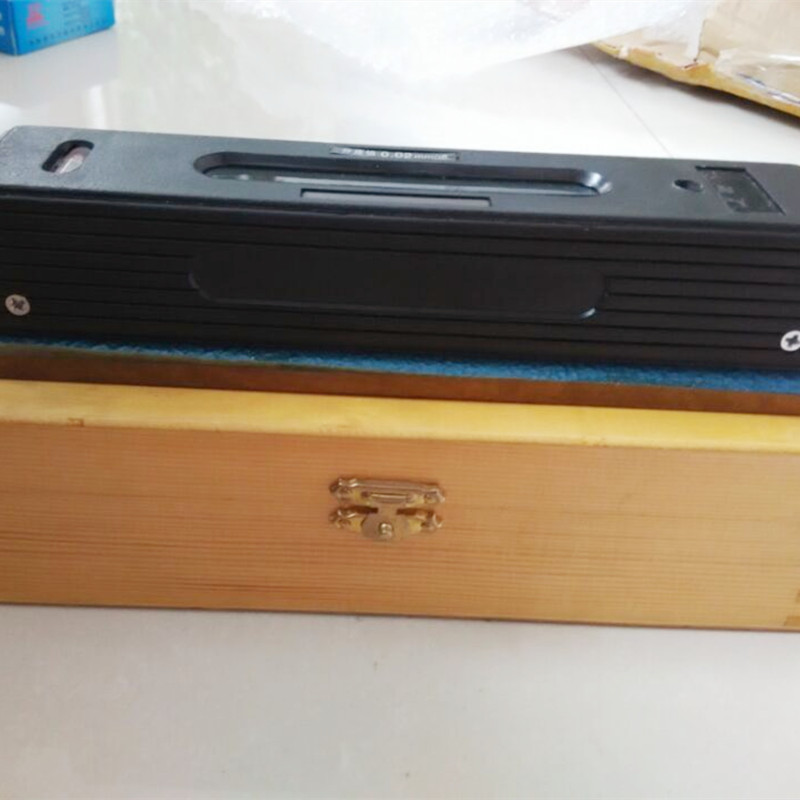
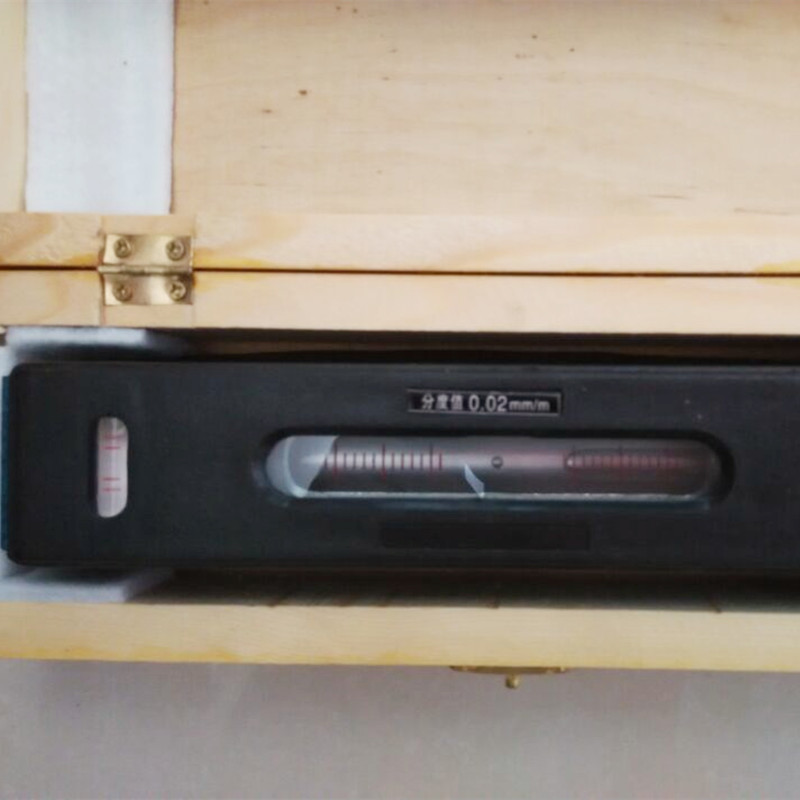
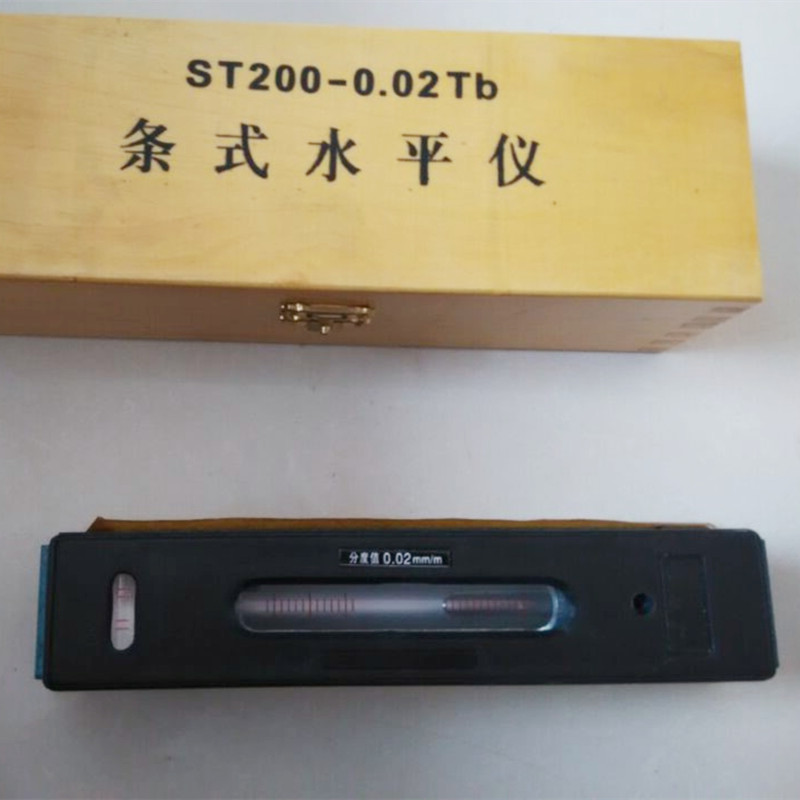
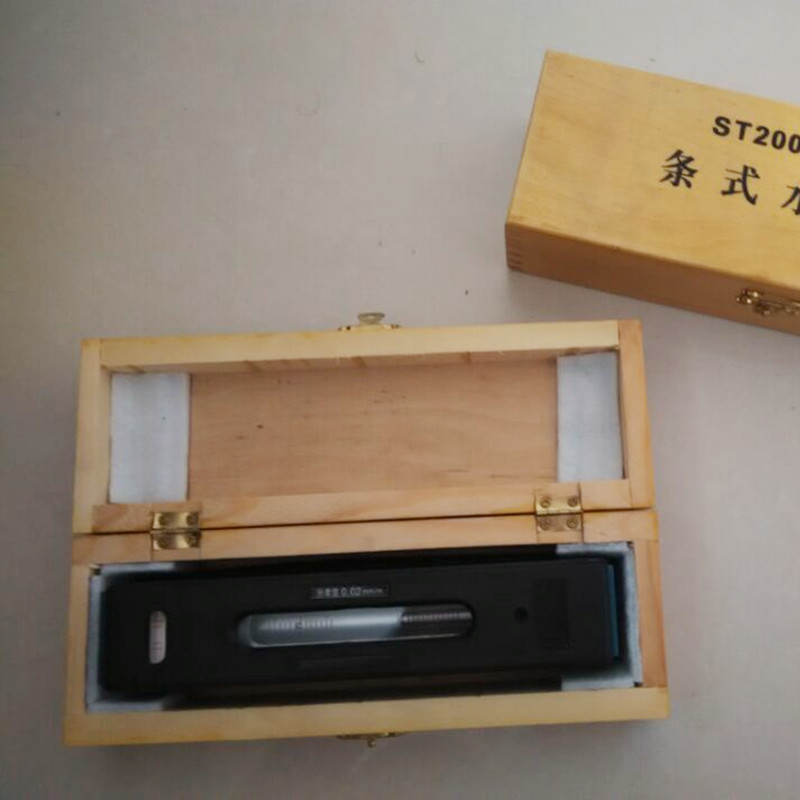
Nivo Bar
Deskripsyon Product
- - Flakon prensipal reglabl 0.0002"/10"
- - V-groove baz.
- - Avèk flakon tès kwa.
- - Kò solid fè jete.
- - Konpare ak nivo presizyon mèt regilye, nivo sa a fèt ak pwodui nan yon anviwònman ki pi sofistike.
- Pwen pwodwi ak aplikasyon nivo ba: Prekosyon pou itilize yon nivo ba:
- 1.Anvan mezire ak yon nivo ba, sifas mezi a ta dwe ak anpil atansyon netwaye epi siye sèk pou tcheke domaj tankou reyur, rouye, ak burrs.
- 2.Anvan mezire ak yon nivo ba, tcheke si pozisyon zewo a kòrèk. Si yo pa egzat, nivo reglabl la ta dwe ajiste, epi nivo fiks yo ta dwe repare.
- 3.Lè w mezire ak yon nivo ba, yo ta dwe evite enfliyans tanperati a. Likid ki andedan nivo a gen yon enpak siyifikatif sou chanjman tanperati. Se poutèt sa, yo ta dwe peye atansyon sou enfliyans nan chalè men, limyè solèy la dirèk, ak move souf sou nivo a.
- 4.Nan itilizasyon yon nivo ba, yo ta dwe fè lekti nan pozisyon nivo vètikal la pou diminye enpak parallax sou rezilta mezi yo.
-
Paramèt pwodwi
- Bar nivo évaluer m Bar nivo évaluer spécification milimèt: jistès: 0.02 milimèt/m.
|
non pwodwi |
spesifikasyon |
nòt |
|
nivo lespri yo |
100 * 0.05mm |
Gen yon Groove ki gen fòm V |
|
nivo lespri yo |
150 * 0.02mm |
Gen yon Groove ki gen fòm V |
|
nivo lespri yo |
200 * 0.02mm |
Gen yon Groove ki gen fòm V |
|
nivo lespri yo |
250 * 0.02mm |
Gen yon Groove ki gen fòm V |
|
nivo lespri yo |
300 * 0.02mm |
Gen yon Groove ki gen fòm V |

What Is a Bar Level? Key Differences from Frame Levels
A bar level is a compact, linear precision tool designed for measuring straightness, alignment, and inclination on flat or cylindrical surfaces—ideal for industrial applications where space is limited or cylindrical workpieces (e.g., pipes, machine shafts) need inspection. At Storaen, our bar levels feature a rugged cast iron body with a V-grooved base, allowing secure placement on round surfaces, and a single precision bubble vial to detect subtle tilts (as low as 0.02mm/m deviation). But how does it differ from a frame level? Let’s break down the key distinctions:
1. Design & Structure
Bar Level: Linear, single-axis design with a V-shaped groove along the base (critical for gripping cylindrical objects) and one or two bubble vials (horizontal/vertical). Lightweight and portable, perfect for tight spaces or on-the-go measurements.
Frame Level (e.g., precision frame level): Rectangular, four-sided frame with multiple machined working surfaces (front, back, top, bottom), supporting both horizontal and vertical measurements on flat planes. Bulkier but more versatile for complex, multi-surface inspections.
2. Measurement Focus
Bar Level: Specializes in cylindrical alignment (e.g., checking the straightness of machine tool guides, pipe installations) and single-plane flatness. The V-groove ensures stable contact with round shafts, eliminating slippage during measurement.
Frame Level: Excels at multi-dimensional flatness checks (horizontal, vertical, squareness) on large flat surfaces like machine bases, construction frameworks, or woodworking tables. Its four edges provide reference points for complex angle and alignment tasks.
3. Precision & Application Scenarios
Both tools offer high accuracy (0.02mm/m standard at Storaen), but their strengths lie in different use cases:
Use a bar level when working with cylindrical components, narrow rails, or in confined spaces where a compact tool is essential.
Opt for a frame level (especially a precision frame level) when measuring flat surfaces, checking right angles, or needing simultaneous horizontal/vertical feedback in workshops, construction sites, or CNC machine setups.
4. Storaen’s Expertise in Both Categories
At Storaen, we engineer bar levels for rugged reliability—their cast iron bodies resist corrosion and impact, while the V-groove undergoes precision grinding to ensure perfect cylindrical fit. Our frame levels, including the premium precision frame level series, feature aircraft-grade aluminum frames and dual-vial systems for unmatched multi-surface accuracy.
Whether you need the portability of a bar level or the versatility of a frame level, Storaen’s industrial-grade tools deliver the precision and durability your projects demand. Explore our range today to find the right measurement solution for your application.
High-Precision Bar Level: 0.02mm/m Accuracy Specifications
At Storaen, our bar level series redefines precision measurement with industry-leading 0.02mm/m accuracy—engineered for tasks where even the smallest deviation can impact project success. This specification means our tool detects a mere 0.02mm tilt over 1 meter of length, setting the standard for critical alignment in industrial, manufacturing, and maintenance applications.
1. Calibrated Bubble Vial Technology
The heart of our bar level’s precision is its meticulously calibrated bubble vial, constructed with optical-grade glass and temperature-stabilized fluid to minimize expansion errors. Each vial undergoes a 3-step calibration process, ensuring the bubble rests exactly at center when the surface is perfectly horizontal or vertical. This eliminates guesswork, providing clear, repeatable readings even in fluctuating environments.
2. Precision-Machined V-Grooved Base
Our bar level features a V-shaped groove ground to micron-level tolerances, ensuring seamless contact with cylindrical surfaces like machine shafts, pipes, or rail guides. The groove’s 120° angle and mirror-finish surface (Ra ≤ 0.8μm) eliminate slippage and measurement inconsistencies, making it ideal for straightness checks on round workpieces, where accuracy is non-negotiable.
3. Rugged Construction for Stable Performance
Housed in a heat-treated cast iron body, our bar level resists thermal expansion and mechanical stress, maintaining 0.02mm/m accuracy across -10°C to 50°C temperatures. The solid core design dampens vibrations from industrial machinery, while the anti-corrosive enamel coating protects against oil, coolant, and moisture, critical for long-term precision in harsh workshop environments.
4. Applications Where Precision Matters Most
From aligning CNC machine tool guides to verifying the straightness of conveyor rollers or pipeline installations, our high-precision bar level delivers unmatched reliability. Engineers and technicians trust its 0.02mm/m rating for:
Machine tool setup: Ensuring spindle alignment to prevent workpiece defects
Aerospace component inspection: Validating cylindrical part tolerances
Heavy equipment maintenance: Calibrating hydraulic cylinder shafts for smooth operation
5. Storaen’s Commitment to Accuracy
Every bar level leaves our factory with a traceable calibration certificate, confirming compliance with ISO 17025 standards. We subject each tool to a 12-point quality audit, including flatness testing, bubble stability checks, and temperature cycling, to guarantee that the 0.02mm/m specification holds true throughout its lifecycle.
When your project demands measurements you can stake your reputation on, choose the Storaen bar level—where 0.02mm/m accuracy isn’t just a specification, but a promise of precision without compromise.
Bar Level Applications: Measuring Cylindrical Workpieces & V-Grooves
In industrial measurement, bar levels excel in precision tasks involving cylindrical surfaces and V-shaped structures—roles where their specialized design outperforms general tools. At Storaen, our bar level series is engineered to tackle these challenges with unmatched accuracy and reliability, making it the preferred choice for professionals working with cylindrical workpieces, machine tool guides, and V-grooved components.
1. Cylindrical Workpiece Alignment & Straightness Checks
A bar level’s defining feature—the V-grooved base—creates a secure, stable interface with round surfaces, such as:
Machine Tool Shafts: When aligning CNC spindle shafts or conveyor rollers, Storaen’s bar level ensures minimal runout by detecting micro-tilts (as low as 0.02mm/m) along the cylinder’s longitudinal axis. The V-groove’s 120° angle and precision-ground surface (Ra ≤ 0.8μm) conform perfectly to cylindrical geometry, eliminating slippage and measurement errors.
Pipeline Installations: In oil and gas or industrial piping systems, our bar level verifies the straightness of pipe segments during assembly, preventing misalignment that could cause flow inefficiencies or structural stress. Its compact design fits easily into tight conduit spaces, where bulkier tools fail to reach.
2. V-Groove Component Calibration
V-grooved structures—common in fixtures, gauges, and rail systems—require precise angle and flatness checks. Storaen’s bar level excels here by:
Testing V-Groove Squareness: Placing the level across two opposing V-grooves (e.g., in machine tool slides) reveals angular deviations, ensuring components mate correctly for smooth linear motion.
Aligning V-Guided Rails: In automated manufacturing lines, our bar level ensures V-guided rails are perfectly parallel, minimizing wear on moving carriages and maintaining positional accuracy for robotic arms or material handlers.
3. Automotive Precision Tasks
In industries where tolerances are measured in microns:
Automotive Assembly: During powertrain installation, our tool ensures camshafts and crankshafts are aligned within specification, preventing costly performance issues down the line.
4. Why Storaen Bar Levels Lead in Cylindrical Measurement
Our bar levels combine three key advantages for these applications:
Rugged Cast Iron Construction: Withstands impacts and thermal fluctuations in harsh workshops, maintaining accuracy over years of heavy use.
Optical-Grade Bubble Vials: Provide instant, unambiguous readings even in low-light conditions, reducing measurement time by 30% compared to generic levels.
Traceable Calibration: Every tool comes with an ISO 17025-certified report, guaranteeing its 0.02mm/m accuracy meets international standards for critical tasks.
Whether you’re aligning a single shaft or managing a complex industrial installation, Storaen’s bar level delivers the precision and durability needed to keep cylindrical workpieces and V-grooved components within tolerance. Trust the tool designed for the unique challenges of round-surface measurement, because in manufacturing, the smallest curve can make the biggest difference.
Ki gen rapò PWODWI
Nouvèl ki gen rapò
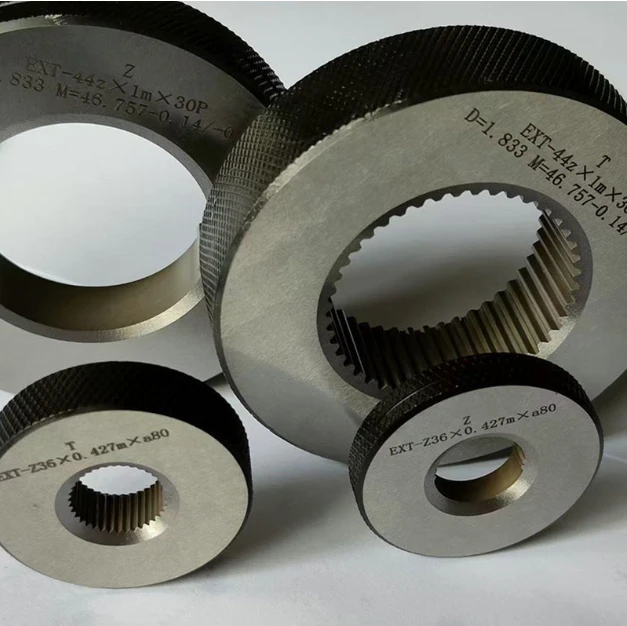
Precision Manufacturing with Advanced Spline Gauge Design
As a leading wholesale supplier in the precision measurement industry, Storaen (Cangzhou) International Trading Co. understands the critical role that Spline Gauges play in ensuring manufacturing accuracy.
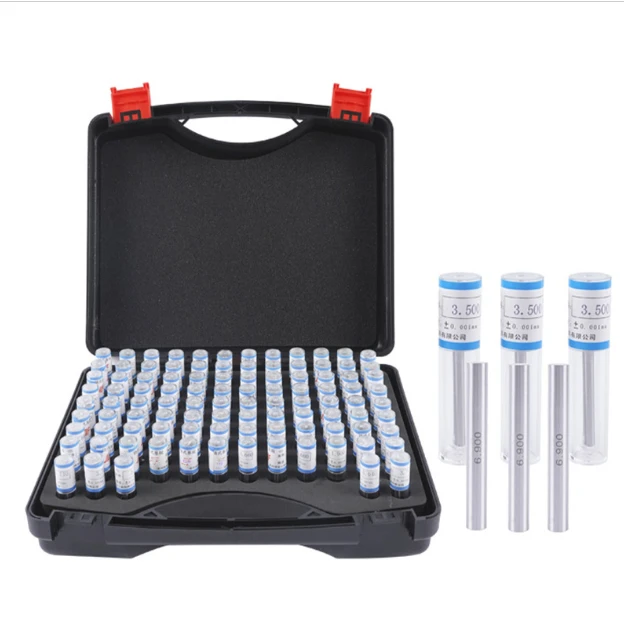
Industrial-Grade Calibrated Pin Gauges for Exact Measurements
For precision-driven manufacturers, our Calibrated Pin Gauges deliver unmatched accuracy in dimensional verification.
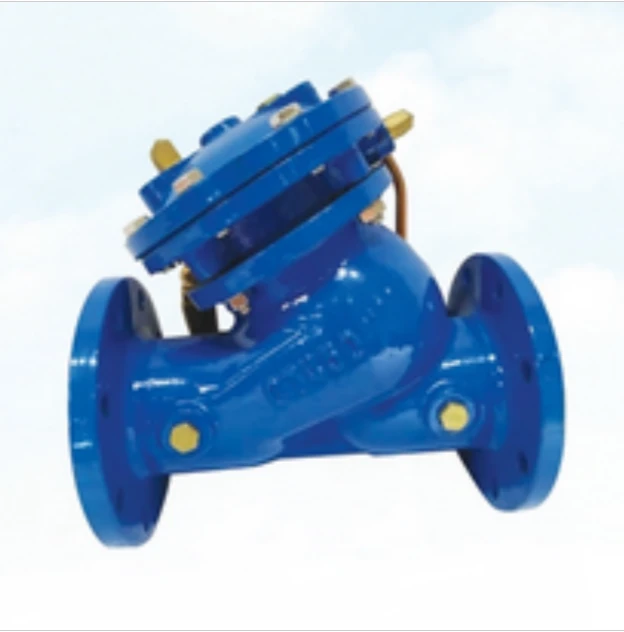
Industrial Filtration Systems Depend on Quality Filter DN50 Solutions
In modern industrial operations, effective filtration plays a vital role in protecting equipment and ensuring smooth processes.


