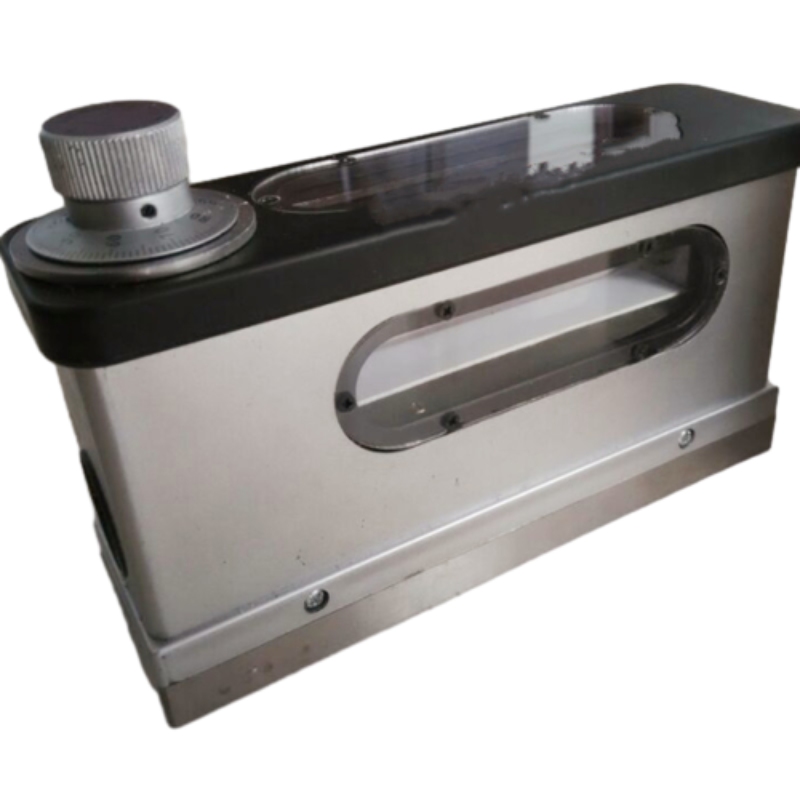
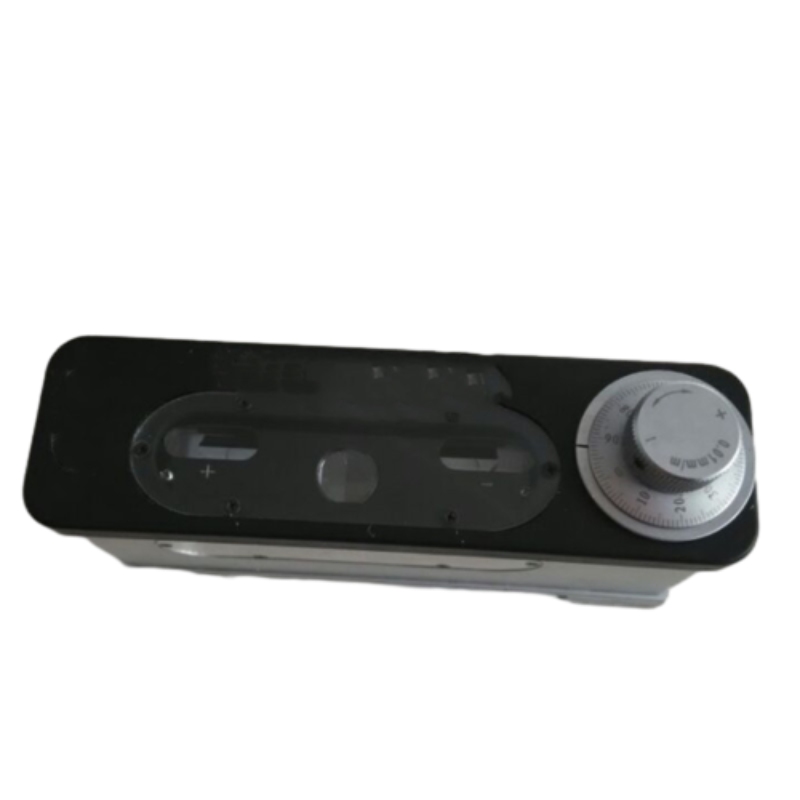
Razina optičke kompozitne slike
Opis proizvoda
- 1.Primjena
Optička kompozitna razina slike naširoko se koristi u mjerenju gradijenata ravne površine i cilindrične površine prema vodoravnom smjeru; Ravnost i ravnost klizne staze ili baze alatnog stroja ili optičkog mehaničkog instrumenta kao i ispravnost položaja ugradnje opreme.
- 2. Tehnički podaci
(1) svaka vrijednost stupnjevanja: ...0,01 mm/m
(2) maksimalni raspon mjerenja: ...0~10mm/m
(3) dopuštenje: ...1 mm/unutar jednog metra... 0,01 mm/m
Unutar punog mjernog raspona...0,02 mm/m
(4) odstupanje ravnine na radnoj površini...0,0003mm/m
(5) svaka vrijednost stupnjevanja libele...0,1 mm/m
(6) radna površina (LW): ...165 48mm
(7) neto težina instrumenta: ...2 kg.
- 3. Struktura instrumenta:
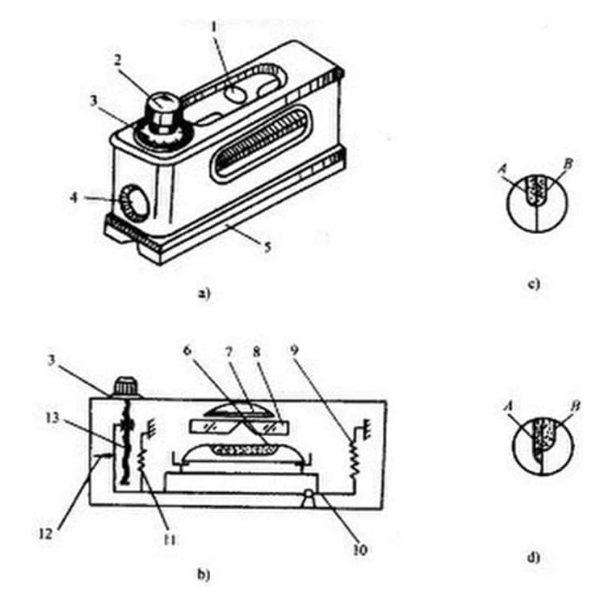
Kompozitna libela uglavnom se sastoji od sljedećih dijelova kao što su mikro vijak za podešavanje, matica, graduirani disk, libela, prizma, povećalo, poluga kao i baza s ravnom i v radnom površinom.
- 4. Princip rada:
Kompozitna libela koristi prizmu za dobivanje slika mjehurića zraka u kompozitnoj libeli i povećava ih kako bi se poboljšala točnost očitanja te koristi prijenosni sustav poluge i mikro vijka za poboljšanje osjetljivosti čitanja. Stoga, ako je radni komad s gradijentom od 0,01 mm/m, može se točno očitati u libeli kompozitne slike (libela u libeli kompozitne slike uglavnom ima ulogu pokazivanja nule).
- 5. Metoda rada:
Postavite razinu kompozitne slike na radnu površinu mjernog izratka i gradijent mjernog izratka uzrokuje nepoklapanje slika dvostrukih mjehurića zraka; Okrećite graduirani disk dok se slike mjehurića zraka ne poklope i očitavanje se ne može odmah dobiti. Stvarni gradijent mjernog obratka može se izračunati sljedećom formulom:
Stvarni gradijent=vrijednost gradijenta Udaljenost oslonca Očitavanje diska
Fox primjer: Čitanje diska: 5 gradijenata; Budući da je ova razina složene slike fiksirana sa svojom vrijednošću gradijenta i udaljenosti uporišta, to je vrijednost gradijenta: 0,01 mm/m i udaljenost uporišta: 165 mm.
Dakle: Stvarni gradijent=165 mm 5 0,01/1000=0,00825 mm
- 6. Obavijest o radu:
(1) prije upotrebe očistite uljnu prašinu benzinom, a zatim očistite upijajućom gazom.
(2) Promjena temperature ima veliki utjecaj na instrument i stoga mora biti odvojen od izvora topline kako bi se izbjegle pogreške.
(3) Tijekom mjerenja okrećite graduirani disk dok se slike mjehurića zraka u potpunosti ne poklope i tada se mogu uzeti očitanja u pozitivnom i negativnom smjeru.
(4) If the instrument is found with in correct zero position, it may be adjusted; Put the instrument on a stable table and rotate the graduated disc to set the tow air bubble images coincide to get first reading a; Then turn the instrument by 180o and put back to its original place. Ra-rotate the graduated disc to get the tow air bubbles coincide to get the second reading b. So 1/2 (α +β ) is the zero deviation of the instrument. Loosen the three supporting screws on the graduated disc and press lightly by hand the embossed adjusting cap; Rotate the disc by 1/2 (α +β) to get the zero deviation and the point line composite; At last fasten the screws.
(5) Nakon rada radna površina instrumenta mora biti očišćena i premazana bezvodnim uljem protiv hrđe i papirom protiv rđe bez kiseline; Stavite ga u drvenu kutiju i zatim pohranite na čisto i suho mjesto.
Hot Tags: Optical Composite Image Level Optical Composite Image Level suppliers China Optical Composite Image Level Optical Composite Image Level factory stable Optical Composite Image Level
Parametar proizvoda
tehnički parametri
- Brojčanik vrijednosti ploče 0,01 mm/m
- Raspon mjerenja 0-10 milimetara/metar
- Parent-child error within ± 1mm/m+0.01 mm/m
- The parental error within the entire measurement range is ± 0. 02 millimeters/meter
- Odstupanje ravnosti stola od 0,003 mm
- Standard akumulacije vrijednosti ćelije 0,1 milimetar/metar
- Uredski stol veličine 165 x 48 milimetara
- Neto težina 2,2 kilograma
Optical Composite Image Level Maintenance: Antirust Oil & Storage Tips
Proper maintenance ensures your optical composite image level retains its 0.01mm/m precision and durability. Follow these steps to protect its prism technology and mechanical components:
1. Daily Cleaning for Surface Protection
After use, wipe working surfaces (V-groove, edges, lenses) with isopropyl alcohol on a lint-free cloth to remove oils and dust. Use a soft brush for stubborn debris—never abrasives, which can scratch optical parts or damage metal coatings. This preserves the precision ground surfaces (Ra ≤ 0.1μm) critical for accurate readings.
2. Routine Antirust Care for Metal Parts
While the granite base resists corrosion, metal components (screws, levers, hinges) need protection. Apply Storaen’s non-acidic anti-rust oil every 3 months or after moisture exposure:
Apply thinly to threads and pivots with a dropper, avoiding pooling on granite/lenses.
Prevents seizing: Maintains lever mechanism sensitivity (0.001mm precision) for cylindrical slope measurements.
3. Optimal Storage Practices
Store in the included hard case or a dry cabinet to avoid temperature/humidity damage:
Environment: 10°C–30°C, <60% humidity to prevent lens condensation and optical distortion.
Positioning: Lay flat or upright in padded slots; never under heavy objects to avoid misaligning the optical system.
Long-term storage: Reapply anti-rust oil and add a silica packet; inspect 24 hours before use, verifying zero position via 180° rotation calibration.
4. Monthly Functional Inspections
Check performance regularly to ensure reliability:
Bubble clarity: Confirm the composite bubble image aligns smoothly without blur.
Lever movement: Test micro-screws for smooth rotation—stiffness signals needed lubrication.
Flatness check: Use a reference plate to validate factory-calibrated flatness (±0.0003mm/m).
5. Storaen’s Support for Longevity
Leverage our expert services to maintain peak performance:
Factory recalibration: Restores 0.01mm/m precision via ISO-certified equipment for critical applications.
Genuine parts: Replacement components ensure compatibility and preserve original accuracy.
By following these steps, your Storaen optical composite image level will deliver consistent precision for industrial alignment tasks, backed by our 30+ years of engineering expertise.
Zero Position Calibration of Optical Composite Image Level: 180° Rotation Method Explained
Accurate zero calibration is vital for your Storaen optical composite image level to maintain its 0.01mm/m precision and ±0.0003mm/m flatness. The 180° rotation method eliminates subtle optical or mechanical shifts, ensuring reliable measurements in critical tasks like CNC machine alignment or aerospace component inspection. Here’s a streamlined, step-by-step guide:
1. Why Calibrate?
Impacts, vibrations, or temperature fluctuations can shift the level’s zero reference, leading to measurement drift. Calibration realigns the bubble vial with the tool’s optical prism and lever system, ensuring consistent baselines for industrial applications where 0.001mm deviations are unacceptable—such as verifying machine tool guides or structural frameworks.
2. Setup Requirements
Storaen optical composite image level (featuring a V-grooved base and micro-adjusting screw)
Certified precision reference flat (e.g., our Storaen granite surface plate, with flatness ≤0.0002mm/m)
A clean, vibration-free workbench in a temperature-stabilized environment (18°C–22°C recommended)
3. Step 1: Initial Measurement
Place the level lengthwise on the reference flat, aligning the V-grooved base with the flat’s central axis. Rotate the micro-adjusting screw until the composite bubble image—created by the 45° prism system—perfectly overlaps in the viewfinder. Record this initial scale reading (A), which reflects the current deviation from true zero.
4. Step 2: 180° Rotation & Second Reading
Carefully flip the level 180° end-to-end while maintaining its longitudinal orientation on the flat (avoid any lateral movement). Adjust the micro-screw again to align the bubble image and record the new reading (B). The difference Δ = |A - B| indicates zero position error; ideal values for Storaen levels should be ≤0.005mm/m.
5. Step 3: Error Correction & Verification
Calculate the target zero position as the midpoint: C = (A + B)/2. Loosen the protective cap on the zero-adjustment screw (typically located near the bubble vial), rotate the screw until the scale reads C, then retighten. Repeat Steps 3–4 until Δ ≤0.002mm/m, ensuring minimal residual error.
6. Pro Tips for Precision
Triple-Check Consistency: Perform 3 calibration cycles, especially after transporting the level or working in environments with temperature swings, to ensure repeatable results.
Lubricate Moving Parts: Apply a drop of Storaen’s non-acidic oil to the micro-screw before adjustment to ensure smooth, backlash-free operation and prevent binding.
Environmental Control: Avoid calibrating near heat sources or drafts, as even minor temperature gradients can affect the granite base’s dimensional stability and introduce errors.
7. Storaen’s Calibration Support
Every Storaen optical composite image level includes a NIST-traceable calibration certificate, but quarterly in-field checks are recommended for heavy use. Our support includes:
Factory Recalibration: Restoring original 0.01mm/m accuracy using laser interferometers for high-stakes applications.
Genuine Spare Parts: Readily available adjustment screws and maintenance kits for long-term usability.
Video Tutorials & Expert Guidance: Step-by-step videos and engineer support to assist with on-site calibration procedures.
Final Notes
Mastering the 180° rotation method ensures your Storaen optical composite image level delivers the precision required for cylindrical slope measurements, machine tool flatness checks, and other critical alignments. With proper calibration, this tool, backed by our 30+ years of engineering expertise, becomes an indispensable asset in your quality control workflow, ensuring every measurement is as reliable as the first.
Povezano PROIZVODI
POVEZANE VIJESTI
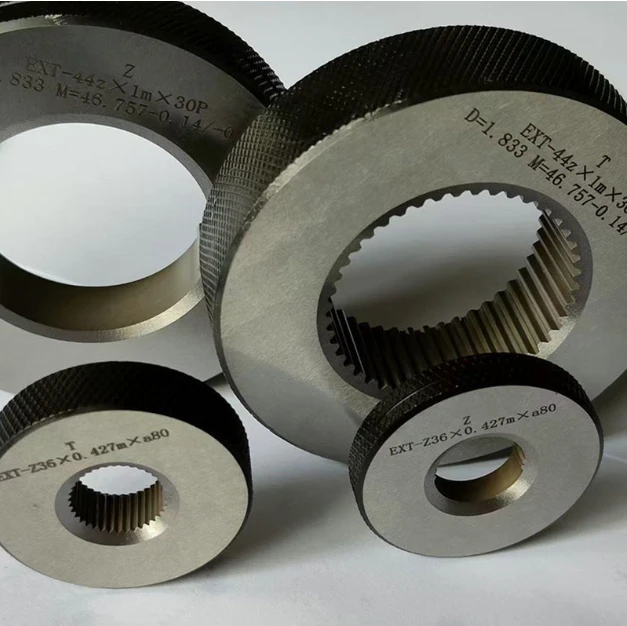
Precision Manufacturing with Advanced Spline Gauge Design
As a leading wholesale supplier in the precision measurement industry, Storaen (Cangzhou) International Trading Co. understands the critical role that Spline Gauges play in ensuring manufacturing accuracy.
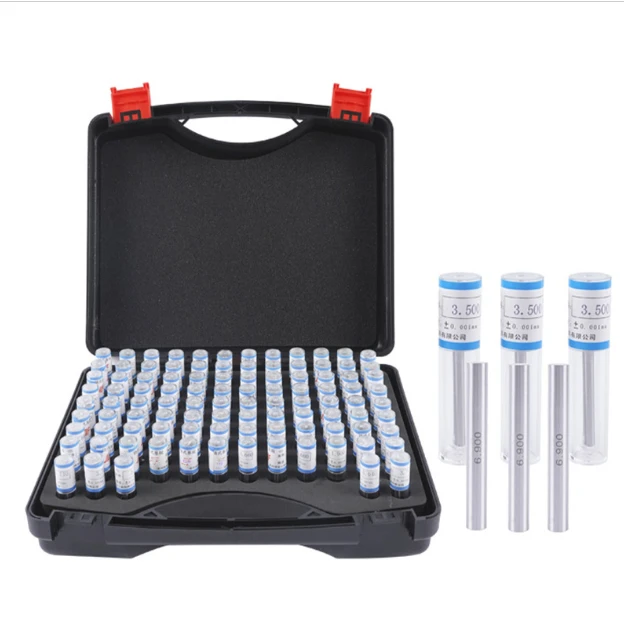
Industrial-Grade Calibrated Pin Gauges for Exact Measurements
For precision-driven manufacturers, our Calibrated Pin Gauges deliver unmatched accuracy in dimensional verification.
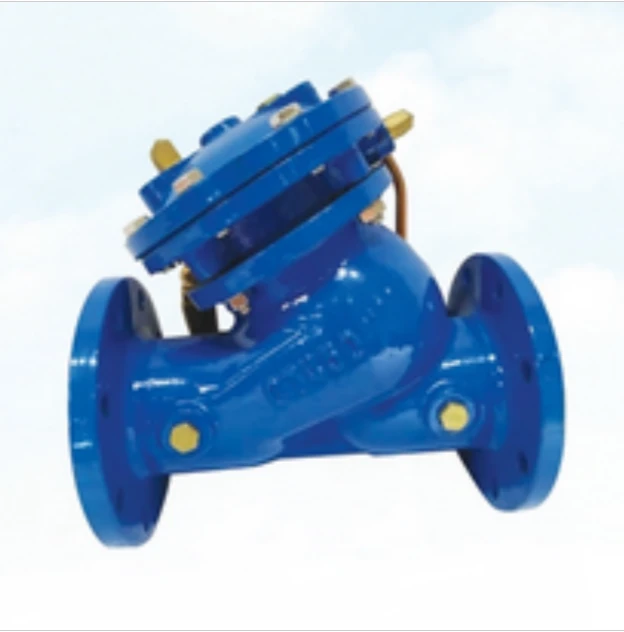
Industrial Filtration Systems Depend on Quality Filter DN50 Solutions
In modern industrial operations, effective filtration plays a vital role in protecting equipment and ensuring smooth processes.


