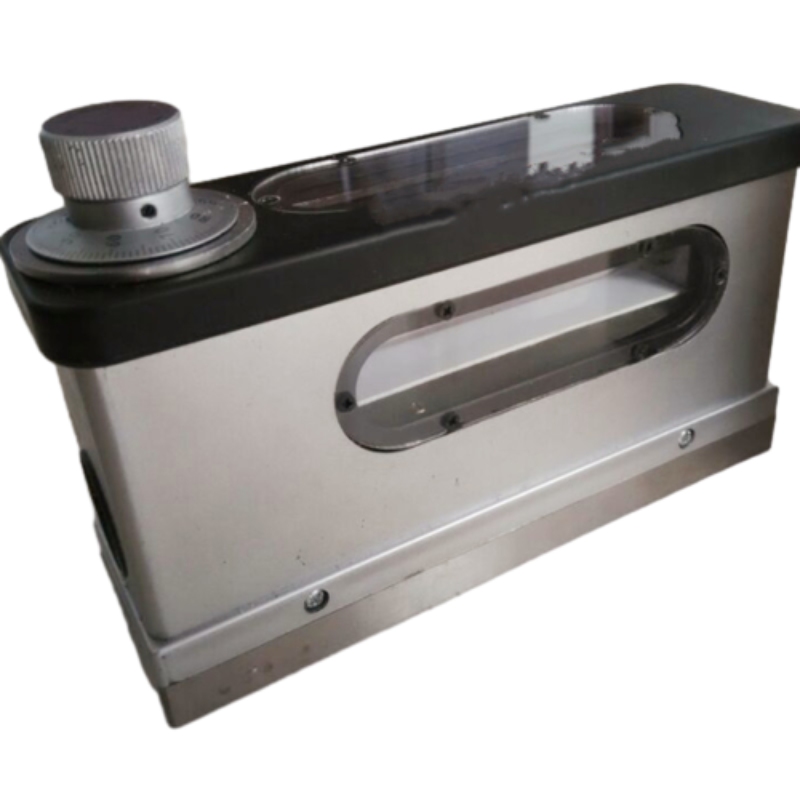
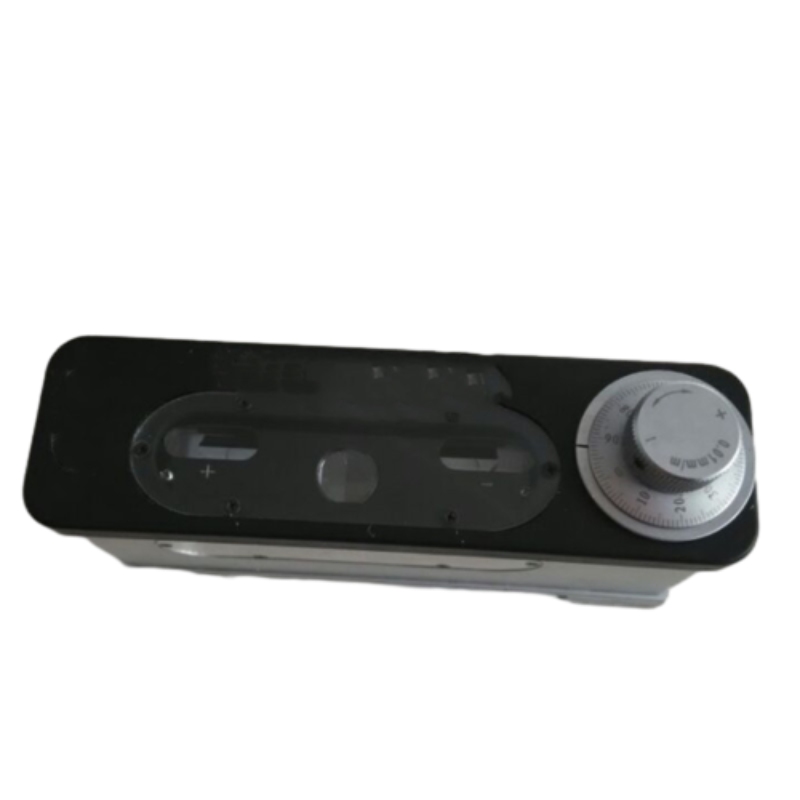
Οπτικό σύνθετο επίπεδο εικόνας
περιγραφή προϊόντος
- 1.Εφαρμογή
Το επίπεδο οπτικής σύνθετης εικόνας χρησιμοποιείται ευρέως στη μέτρηση των κλίσεων της επίπεδης επιφάνειας και της κυλινδρικής επιφάνειας προς την οριζόντια κατεύθυνση. Το επίπεδο και ευθύτητα της ολίσθησης ή της βάσης της εργαλειομηχανής ή του οπτικού μηχανικού οργάνου καθώς και η ορθότητα της θέσης εγκατάστασης του εξοπλισμού.
- 2.Τεχνικά στοιχεία
(1) κάθε τιμή διαβάθμισης: ...0,01mm/m
(2) μέγιστο εύρος μέτρησης: ...0~10mm/m
(3) επίδομα: ...1mm/εντός μέτρου... 0,01mm/m
Εντός πλήρους εύρους μέτρησης...0,02mm/m
(4) Απόκλιση επιπέδου στην επιφάνεια εργασίας...0,0003mm/m
(5) κάθε τιμή διαβάθμισης αλφάδι...0,1mm/m
(6) επιφάνεια εργασίας (LW): ...165 48mm
(7) καθαρό βάρος του οργάνου: ...2kgs.
- 3.Δομή του οργάνου:
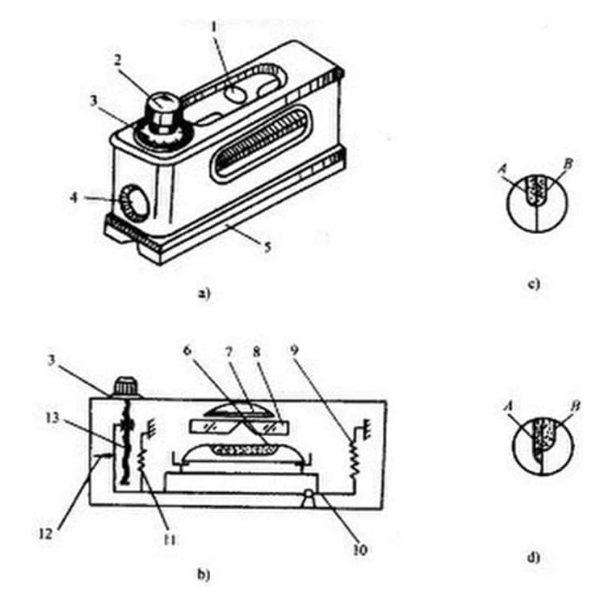
Το επίπεδο σύνθετης εικόνας αποτελείται κυρίως από τα ακόλουθα μέρη όπως μικροβίδα ρύθμισης, παξιμάδι, βαθμονομημένο δίσκο, αλφάδι, πρίσμα, μεγεθυντικός φακός, μοχλός καθώς και βάση με επίπεδη και επιφάνεια εργασίας v.
- 4. Αρχή λειτουργίας:
Το επίπεδο σύνθετης εικόνας χρησιμοποιεί πρίσμα για να πάρει τις εικόνες φυσαλίδων αέρα στο αλφάδι σύνθετο και μεγεθύνεται για να βελτιώσει την ακρίβεια ανάγνωσης και χρησιμοποιεί μοχλό και σύστημα μετάδοσης μικροβιδών για τη βελτίωση της ευαισθησίας ανάγνωσης. Επομένως, εάν το τεμάχιο εργασίας με κλίση 0,01 mm/m, μπορεί να διαβαστεί με ακρίβεια στο επίπεδο σύνθετης εικόνας (το αλφάδι στο επίπεδο σύνθετης εικόνας παίζει κυρίως το ρόλο της ένδειξης μηδέν).
- 5. Μέθοδος λειτουργίας:
Τοποθετήστε το επίπεδο της σύνθετης εικόνας στην επιφάνεια εργασίας του τεμαχίου εργασίας μέτρησης και η κλίση του τεμαχίου μέτρησης προκαλεί ασυμπτώσεις των εικόνων φυσαλίδων αέρα ρυμούλκησης. Περιστρέψτε τον βαθμονομημένο δίσκο μέχρι να συμπέσουν οι εικόνες φυσαλίδων αέρα ρυμούλκησης και να γίνει αμέσως ανάγνωση. Η πραγματική κλίση του τεμαχίου μέτρησης μπορεί να υπολογιστεί με τον ακόλουθο τύπο:
Πραγματική κλίση=τιμή διαβάθμισης Απόσταση υπομόχλιο Ανάγνωση δίσκου
Παράδειγμα αλεπούς: Ανάγνωση δίσκου: 5 κλίσεις. Δεδομένου ότι αυτό το επίπεδο σύνθετης εικόνας συνδυάζεται με την τιμή ντεγκραντέ και την απόσταση υπομόχλιο του, αυτή είναι η τιμή κλίσης: 0,01 mm/m και η απόσταση υπομόχλιο: 165 mm.
Άρα: Πραγματική κλίση=165mm 5 0,01/1000=0,00825mm
- 6.Ειδοποίηση λειτουργίας:
(1) πριν τη χρήση, καθαρίστε τη σκόνη λαδιού με βενζίνη και στη συνέχεια καθαρίστε με απορροφητική γάζα.
(2) Η αλλαγή θερμοκρασίας έχει μεγάλη επίδραση στο όργανο και επομένως πρέπει να διαχωριστεί με πηγή θερμότητας για να αποφευχθεί το σφάλμα.
(3) Κατά τη διάρκεια της μέτρησης, περιστρέψτε τον βαθμονομημένο δίσκο έως ότου οι εικόνες της φυσαλίδας αέρα ρυμούλκησης συμπίπτουν πλήρως και στη συνέχεια μπορούν να ληφθούν οι μετρήσεις τόσο στη θετική όσο και στην αρνητική κατεύθυνση.
(4) If the instrument is found with in correct zero position, it may be adjusted; Put the instrument on a stable table and rotate the graduated disc to set the tow air bubble images coincide to get first reading a; Then turn the instrument by 180o and put back to its original place. Ra-rotate the graduated disc to get the tow air bubbles coincide to get the second reading b. So 1/2 (α +β ) is the zero deviation of the instrument. Loosen the three supporting screws on the graduated disc and press lightly by hand the embossed adjusting cap; Rotate the disc by 1/2 (α +β) to get the zero deviation and the point line composite; At last fasten the screws.
(5) Μετά την εργασία, η επιφάνεια εργασίας του οργάνου πρέπει να καθαριστεί και να επικαλυφθεί με οξέα, άνυδρο, αντισκωριακό λάδι και αντισκωριακό χαρτί. Τοποθετήστε το σε ξύλινο κουτί και στη συνέχεια αποθηκεύστε το σε καθαρό και στεγνό μέρος.
Hot Tags: Optical Composite Image Level Optical Composite Image Level suppliers China Optical Composite Image Level Optical Composite Image Level factory stable Optical Composite Image Level
Παράμετρος προϊόντος
Τεχνικές παράμετροι
- Διακόπτης τιμής πλάκας 0,01 mm/m
- Εύρος μέτρησης 0-10 χιλιοστά/μέτρο
- Parent-child error within ± 1mm/m+0.01 mm/m
- The parental error within the entire measurement range is ± 0. 02 millimeters/meter
- Απόκλιση επιπεδότητας πάγκου 0,003mm
- Πρότυπο συσσώρευσης τιμής κυψέλης 0,1 χιλιοστά/μέτρο
- Διαστάσεις γραφείου 165 x 48 χιλιοστά
- Καθαρό βάρος 2,2 κιλά
Optical Composite Image Level Maintenance: Antirust Oil & Storage Tips
Proper maintenance ensures your optical composite image level retains its 0.01mm/m precision and durability. Follow these steps to protect its prism technology and mechanical components:
1. Daily Cleaning for Surface Protection
After use, wipe working surfaces (V-groove, edges, lenses) with isopropyl alcohol on a lint-free cloth to remove oils and dust. Use a soft brush for stubborn debris—never abrasives, which can scratch optical parts or damage metal coatings. This preserves the precision ground surfaces (Ra ≤ 0.1μm) critical for accurate readings.
2. Routine Antirust Care for Metal Parts
While the granite base resists corrosion, metal components (screws, levers, hinges) need protection. Apply Storaen’s non-acidic anti-rust oil every 3 months or after moisture exposure:
Apply thinly to threads and pivots with a dropper, avoiding pooling on granite/lenses.
Prevents seizing: Maintains lever mechanism sensitivity (0.001mm precision) for cylindrical slope measurements.
3. Optimal Storage Practices
Store in the included hard case or a dry cabinet to avoid temperature/humidity damage:
Environment: 10°C–30°C, <60% humidity to prevent lens condensation and optical distortion.
Positioning: Lay flat or upright in padded slots; never under heavy objects to avoid misaligning the optical system.
Long-term storage: Reapply anti-rust oil and add a silica packet; inspect 24 hours before use, verifying zero position via 180° rotation calibration.
4. Monthly Functional Inspections
Check performance regularly to ensure reliability:
Bubble clarity: Confirm the composite bubble image aligns smoothly without blur.
Lever movement: Test micro-screws for smooth rotation—stiffness signals needed lubrication.
Flatness check: Use a reference plate to validate factory-calibrated flatness (±0.0003mm/m).
5. Storaen’s Support for Longevity
Leverage our expert services to maintain peak performance:
Factory recalibration: Restores 0.01mm/m precision via ISO-certified equipment for critical applications.
Genuine parts: Replacement components ensure compatibility and preserve original accuracy.
By following these steps, your Storaen optical composite image level will deliver consistent precision for industrial alignment tasks, backed by our 30+ years of engineering expertise.
Zero Position Calibration of Optical Composite Image Level: 180° Rotation Method Explained
Accurate zero calibration is vital for your Storaen optical composite image level to maintain its 0.01mm/m precision and ±0.0003mm/m flatness. The 180° rotation method eliminates subtle optical or mechanical shifts, ensuring reliable measurements in critical tasks like CNC machine alignment or aerospace component inspection. Here’s a streamlined, step-by-step guide:
1. Why Calibrate?
Impacts, vibrations, or temperature fluctuations can shift the level’s zero reference, leading to measurement drift. Calibration realigns the bubble vial with the tool’s optical prism and lever system, ensuring consistent baselines for industrial applications where 0.001mm deviations are unacceptable—such as verifying machine tool guides or structural frameworks.
2. Setup Requirements
Storaen optical composite image level (featuring a V-grooved base and micro-adjusting screw)
Certified precision reference flat (e.g., our Storaen granite surface plate, with flatness ≤0.0002mm/m)
A clean, vibration-free workbench in a temperature-stabilized environment (18°C–22°C recommended)
3. Step 1: Initial Measurement
Place the level lengthwise on the reference flat, aligning the V-grooved base with the flat’s central axis. Rotate the micro-adjusting screw until the composite bubble image—created by the 45° prism system—perfectly overlaps in the viewfinder. Record this initial scale reading (A), which reflects the current deviation from true zero.
4. Step 2: 180° Rotation & Second Reading
Carefully flip the level 180° end-to-end while maintaining its longitudinal orientation on the flat (avoid any lateral movement). Adjust the micro-screw again to align the bubble image and record the new reading (B). The difference Δ = |A - B| indicates zero position error; ideal values for Storaen levels should be ≤0.005mm/m.
5. Step 3: Error Correction & Verification
Calculate the target zero position as the midpoint: C = (A + B)/2. Loosen the protective cap on the zero-adjustment screw (typically located near the bubble vial), rotate the screw until the scale reads C, then retighten. Repeat Steps 3–4 until Δ ≤0.002mm/m, ensuring minimal residual error.
6. Pro Tips for Precision
Triple-Check Consistency: Perform 3 calibration cycles, especially after transporting the level or working in environments with temperature swings, to ensure repeatable results.
Lubricate Moving Parts: Apply a drop of Storaen’s non-acidic oil to the micro-screw before adjustment to ensure smooth, backlash-free operation and prevent binding.
Environmental Control: Avoid calibrating near heat sources or drafts, as even minor temperature gradients can affect the granite base’s dimensional stability and introduce errors.
7. Storaen’s Calibration Support
Every Storaen optical composite image level includes a NIST-traceable calibration certificate, but quarterly in-field checks are recommended for heavy use. Our support includes:
Factory Recalibration: Restoring original 0.01mm/m accuracy using laser interferometers for high-stakes applications.
Genuine Spare Parts: Readily available adjustment screws and maintenance kits for long-term usability.
Video Tutorials & Expert Guidance: Step-by-step videos and engineer support to assist with on-site calibration procedures.
Final Notes
Mastering the 180° rotation method ensures your Storaen optical composite image level delivers the precision required for cylindrical slope measurements, machine tool flatness checks, and other critical alignments. With proper calibration, this tool, backed by our 30+ years of engineering expertise, becomes an indispensable asset in your quality control workflow, ensuring every measurement is as reliable as the first.
Σχετίζεται με ΠΡΟΪΟΝΤΑ
ΣΧΕΤΙΚΑ ΝΕΑ
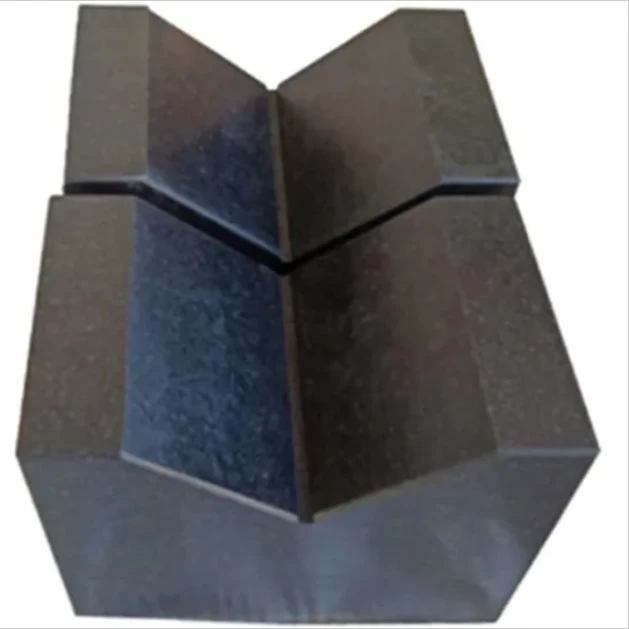
Granite Industrial Tools The Ultimate Guide for Bulk Buyers
In precision-driven industries where measurements determine quality, Granite Industrial Tools from Storaen (Cangzhou) International Trading Co. deliver unparalleled accuracy and reliability.
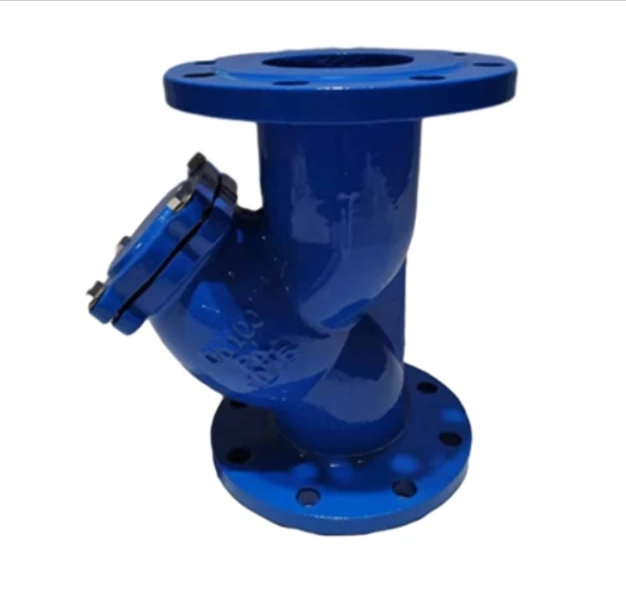
Durable Cast Iron Y Strainer Solutions for Industrial Buyers
For industrial fluid systems requiring reliable filtration, Storaen (Cangzhou) International Trading Co. offers premium Cast Iron Y Strainer solutions alongside our comprehensive Flanged Strainer product line.
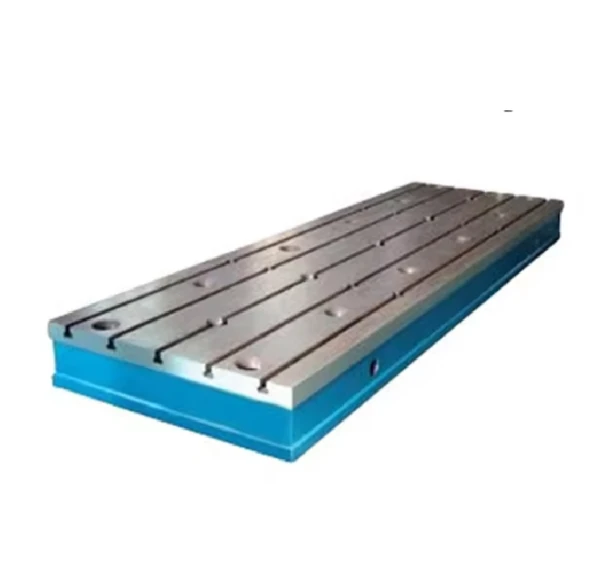
Cast Iron Lapping Plates for Precision Engineering Solutions
When superior flatness and durability matter most, Cast Iron Lapping Plates from Storaen (Cangzhou) International Trading Co. deliver unmatched performance.


