дек. . 23, 2024 13:41 Back to list
How to Properly Use a Spirit Level for Accurate Measurements
How to Use a Spirit Level A Comprehensive Guide
A spirit level, also known as a bubble level, is an essential tool for anyone involved in construction, carpentry, or DIY projects. It helps in determining whether a surface is horizontal (level) or vertical (plumb) by using a sealed vial filled with liquid and an air bubble. When properly used, a spirit level ensures accuracy in your measurements and contributes to the overall quality of your work. In this article, we'll explore how to effectively use a spirit level, ensuring your projects are aligned and precise.
Understanding the Components of a Spirit Level
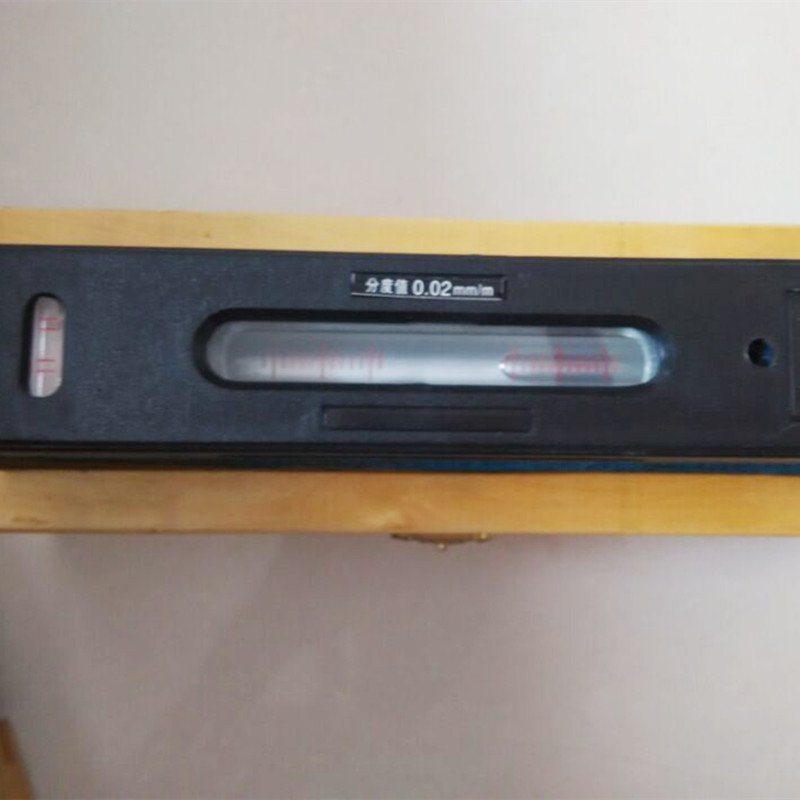
A typical spirit level consists of a long, rectangular body made from materials like aluminum or plastic, with a vial or several vials mounted on it. Each vial is slightly curved and contains a liquid—usually alcohol—to allow a small air bubble to form. When the bubble is centered between two marked lines on the vial, the surface is level. Most spirit levels come in lengths ranging from a few inches to several feet; longer levels are obviously better for larger projects.
Steps to Use a Spirit Level
1. Choosing the Right Surface Start with a clean, flat surface. Ensure that the area where you intend to work is free of debris or obstructions that may interfere with the measurement.
2. Positioning the Level Place the spirit level on the surface you want to check. For horizontal surfaces, lay the level flat. For vertical surfaces, such as walls, hold the level against the surface.
3. Reading the Level Look closely at the vial. If the bubble is perfectly centered between the marked lines, your surface is level. If the bubble is off-center, the surface is not level. If it tilts to the left, it indicates that the left side is higher; if it tilts to the right, the right side is higher.
4. Adjusting the Surface If the surface is not level, make the necessary adjustments. For example, if you’re leveling a shelf, you may need to raise or lower one side by adding shims or adjusting the brackets.
spirit level how to use

5. Rechecking Once adjustments have been made, it’s important to recheck the level. Place the spirit level back on the surface to ensure that the bubble is now centered. Repeat this process as necessary until the surface is level.
6. Using Multiple Vials Many spirit levels come with several vials, including one for checking vertical placement. When checking a wall, use the vertical vial for accurate alignment, ensuring your structures are plumb.
Tips for Effective Use
- Calibration Occasionally, spirit levels can lose their accuracy. To test its calibration, place the level on a known flat surface and mark the bubble position. Then, flip the level end for end; if the bubble does not return to the marked position, the level may need recalibration or replacement.
- Temperature and Storage Extreme temperatures can affect the performance of your spirit level. Store it in a temperature-controlled environment and avoid leaving it in direct sunlight or damp places.
- Avoid Heavy Impact Mishandling can damage the vial, affecting its accuracy. Always handle your spirit level with care to maintain its reliability.
Conclusion
Using a spirit level is a straightforward but crucial task that can significantly impact the quality of your projects. By following the steps outlined above and employing tips for effective use, you can ensure that your surfaces are perfectly level and plumb. Whether you're hanging a picture frame, installing cabinets, or laying flooring, a spirit level is an indispensable tool that will help produce professional and precise results. Embrace this simple yet effective tool, and your work will reflect the utmost care and craftsmanship.
-
Surface Plate Maintenance Best Practices for LongevityNewsJun.27,2025
-
Historical Evolution of Iron Surface Plates in Industrial MetrologyNewsJun.27,2025
-
Cast Iron Y Strainer Safety StandardsNewsJun.27,2025
-
Blockchain Verification for Gauge Tool Certification IntegrityNewsJun.27,2025
-
Advantages of Triple Offset Butterfly Valve Types in High-Pressure SystemsNewsJun.27,2025
-
Wear Resistance Strategies for Trapezoidal ThreadsNewsJun.26,2025
Related PRODUCTS


