İyn . 27, 2025 11:25 Siyahıya qayıt
Surface Plate Maintenance Best Practices for Longevity
In precision manufacturing and metrology, surface plates serve as the foundational reference for accurate measurements, inspections, and part alignments. Proper maintenance is critical to ensure their longevity, accuracy, and reliability. Neglecting care can lead to costly recalibrations, reduced productivity, or even premature replacement. This article outlines best practices for maintaining surface plates, focusing on surface plate calibration, granite surface plate care, and inspection surface plate protocols. By adhering to these guidelines, manufacturers can maximize the lifespan of their equipment while sustaining high precision standards.

Understanding the Fundamentals of Surface Plate Care
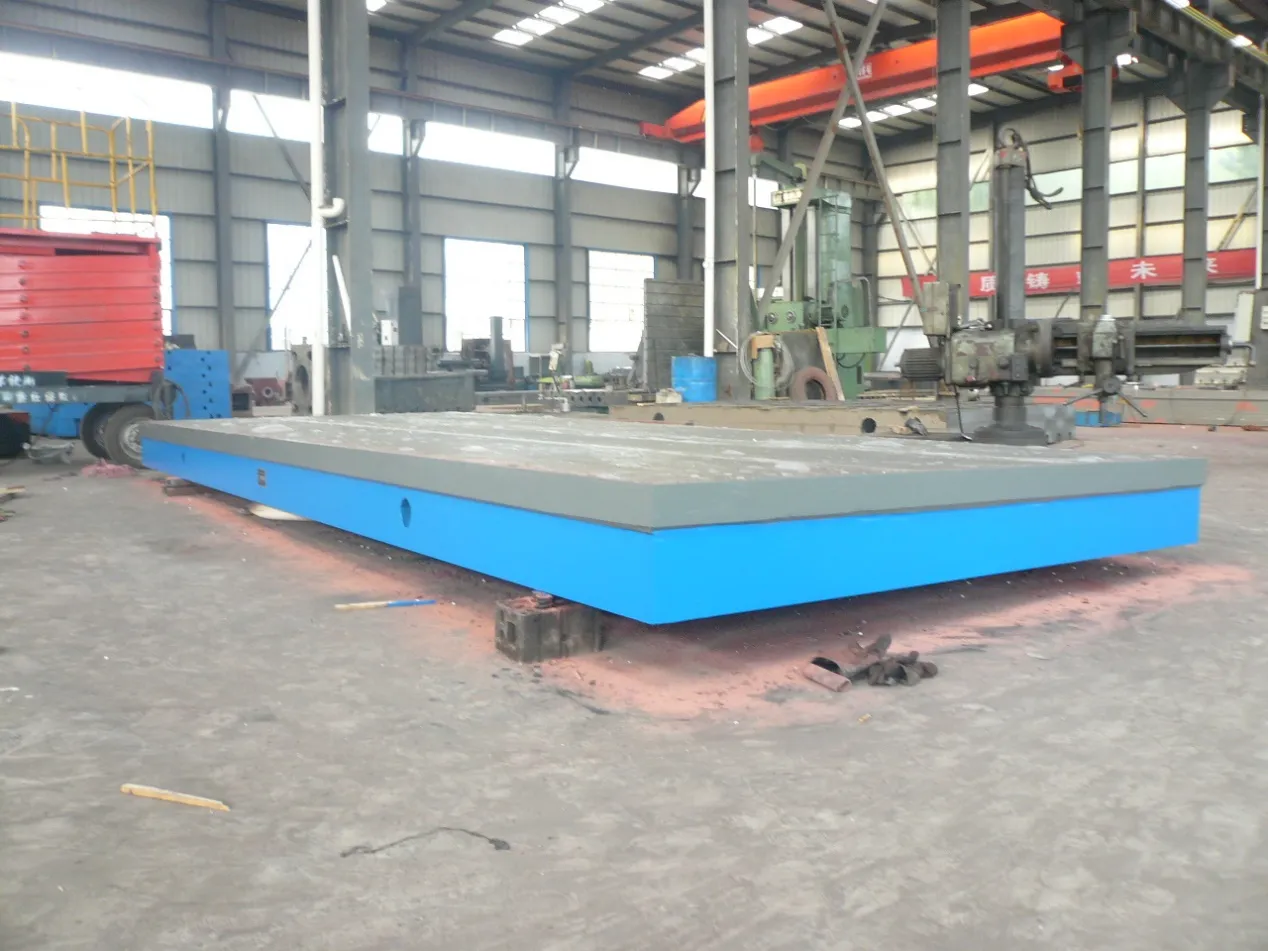
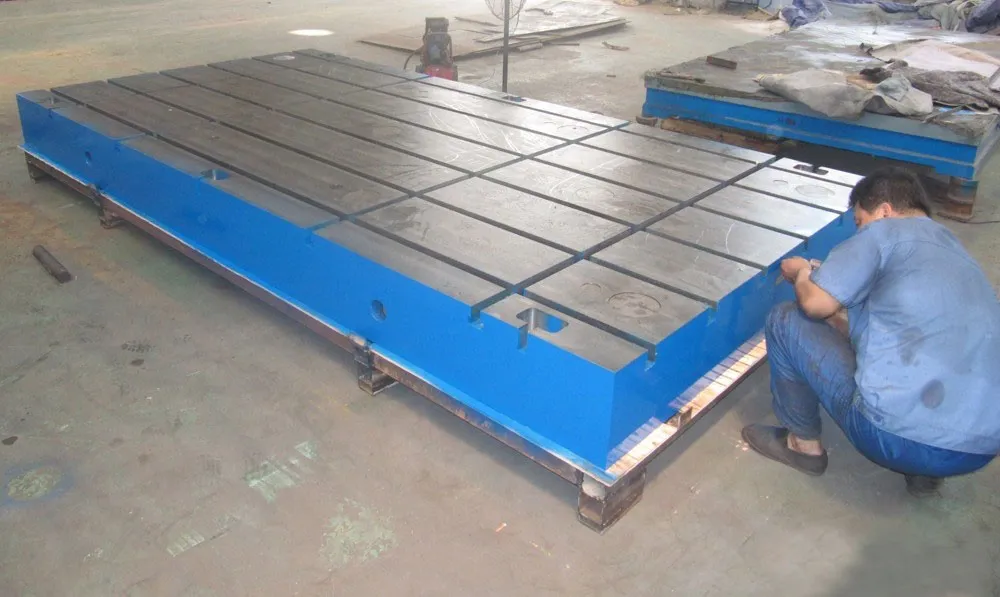
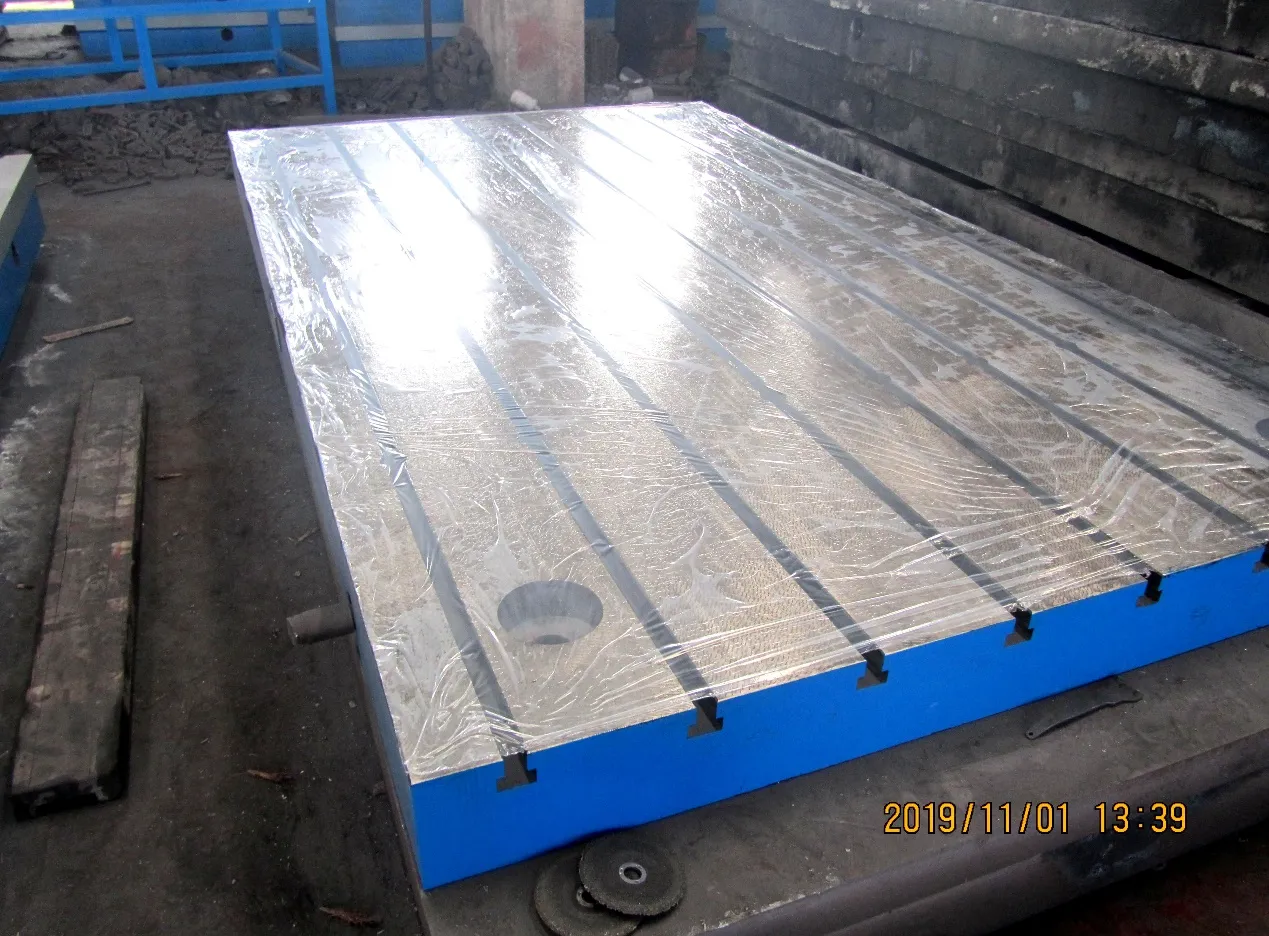
A surface plate is a flat, stable platform used as a reference plane for precise measurements. Its accuracy depends on maintaining its flatness, cleanliness, and structural integrity. Here are core practices to ensure longevity:
- Daily Cleaning: Dust, debris, and oils are enemies of precision. Use a soft brush or lint-free cloth to remove loose particles. For stubborn residues, apply a mild detergent diluted in water, followed by thorough drying. Avoid abrasive cleaners or solvents that could degrade the surface.
- Controlled Environment:Store surface plates in temperature-stable environments (ideally 20°C ±1°C). Granite and metal expand or contract with temperature fluctuations, altering flatness. Humidity should also be regulated to prevent corrosion on metal plates or moisture absorption in granite.
- Load Distribution: Never exceed the weight limit specified by the manufacturer. Distribute loads evenly to avoid localized stress. Concentrated pressure can cause permanent deformation, especially on granite surfaces.
- Protective Covers: When not in use, cover the plate with a fitted lid or breathable fabric to prevent dust accumulation and accidental impacts.
Regular inspections for scratches, dings, or wear patterns are essential. Early detection of damage allows for timely corrective actions.

The Role of Surface Plate Calibration in Sustained Accuracy
Surface plate calibration is the backbone of maintaining measurement integrity. Even minor deviations in flatness can lead to significant errors in downstream processes. Best practices include:
- Scheduled Calibration: Establish a calibration schedule based on usage intensity. High-traffic plates may require quarterly checks, while lightly used ones can be calibrated annually. Always adhere to ISO 8512-3 or ANSI/ASME B89.3.7 standards.
- Qualified Technicians: Only trained professionals should perform surface plate calibration. They use precision tools like autocollimators or electronic levels to map flatness and identify high/low spots.
- Documentation: Maintain records of calibration dates, results, and corrective actions. This data helps track wear trends and justify recalibration intervals.
- Post-Calibration Care: After calibration, avoid abrupt temperature changes or heavy loading for 24 hours to let the plate stabilize.
For granite surface plates, calibration often involves lapping to restore flatness. Metal plates may require machining or scraping. Always consult the manufacturer for recommended post-calibration protocols.
Optimizing Granite Surface Plate Performance
Granite surface plates are prized for their stability, non-conductivity, and resistance to corrosion. However, granite’s porous nature demands specialized care:
- Sealing the Surface: Apply a penetrating sealer annually to fill microscopic pores. This prevents oil, coolant, or moisture infiltration, which can cause staining or dimensional instability.
- Avoid Direct Impact: Granite is brittle. Dropping tools or parts on the plate can chip edges or create pits. Use rubber mats or padded fixtures when handling heavy components.
- pH-Neutral Cleaners: Granite reacts to acidic or alkaline substances. Use pH-balanced cleaners to avoid etching the surface.
- Storage Position: Store granite plates horizontally on three support points (to prevent warping) and never stack them.
Regularly check for “ringing” – a hollow sound when tapped indicates delamination or internal cracks. Address such issues immediately to prevent catastrophic failure.

Implementing Inspection Surface Plate Protocols
An inspection surface plate is subjected to rigorous daily use, making proactive maintenance non-negotiable. Key protocols include:
- Pre-Use Checks: Inspect the plate for debris or damage before each use. Verify that calibration stickers are current.
- Tool Hygiene: Ensure measuring instruments (e.g., height gauges, dial indicators) are clean and calibrated. Contaminated tools can scratch the plate or transfer residues.
- Workflow Zoning: Designate specific areas of the plate for different tasks. For example, reserve one quadrant for heavy part alignment and another for delicate inspections. This minimizes cross-contamination and wear concentration.
- Post-Use Decontamination: After inspections, wipe the plate with a static-dissipative cloth to remove metal shavings or grinding dust.
For facilities using multiple inspection surface plates, implement a rotation system to distribute wear evenly across units.
FAQs About Surface Plate Maintenance
How often should a granite surface plate be recalibrated?
Recalibration frequency depends on usage and environment. High-precision labs may recalibrate every 6 months, while industrial settings might opt for annual cycles. Always follow the manufacturer’s guidelines and track flatness trends from past surface plate calibration reports.
Can a damaged surface plate be repaired?
Minor scratches on a surface plate can often be lapped out by professionals. However, deep cracks or warping may necessitate replacement. Granite surface plates are particularly challenging to repair once delamination occurs.
What cleaning agents are safe for an inspection surface plate?
Use isopropyl alcohol or pH-neutral detergents for routine cleaning. Avoid acetone, ammonia, or vinegar-based solutions, which can degrade granite surface plates or leave residues on metal ones.
Why is temperature control critical for surface plate calibration?
Temperature fluctuations cause thermal expansion/contraction, altering the plate’s dimensions. Surface plate calibration performed in unstable conditions will yield inaccurate results, compromising measurement integrity.
How do I identify wear on an inspection surface plate?
Conduct a visual inspection for scratches, discoloration, or pitting. Use a straightedge and feeler gauge to check flatness. Persistent inaccuracies during measurements also indicate wear, necessitating immediate surface plate calibration.
Proper maintenance of surface plates is an investment in precision and productivity. By integrating daily cleaning, disciplined surface plate calibration, tailored care for granite surface plates, and rigorous inspection surface plate protocols, manufacturers can extend equipment lifespan and uphold stringent quality standards. Adhering to these best practices ensures that these critical tools remain reliable partners in achieving operational excellence.
-
Ultimate Guide to Using a Professional Metre Spirit LevelXəbərlərApr.16,2026
-
Ultimate Guide to Using and Choosing a Meter Spirit LevelXəbərlərApr.09,2026
-
A Comprehensive Guide to Selecting the Ideal Meter Long Spirit Level for Accurate MeasurementsXəbərlərApr.07,2026
-
Choosing the Perfect Metal Spirit Level for Accurate Measurements and ProjectsXəbərlərApr.04,2026
-
Exploring the Diverse Levels of Spirits Quality and Production TechniquesXəbərlərMar.31,2026
-
Understanding the Precision of a Level Spirit Level for Accurate MeasurementsXəbərlərMar.28,2026
Əlaqədar məhsullar


